
Table Of Contents
Tips For DIY Painting Over Rotting or Weathered Wood
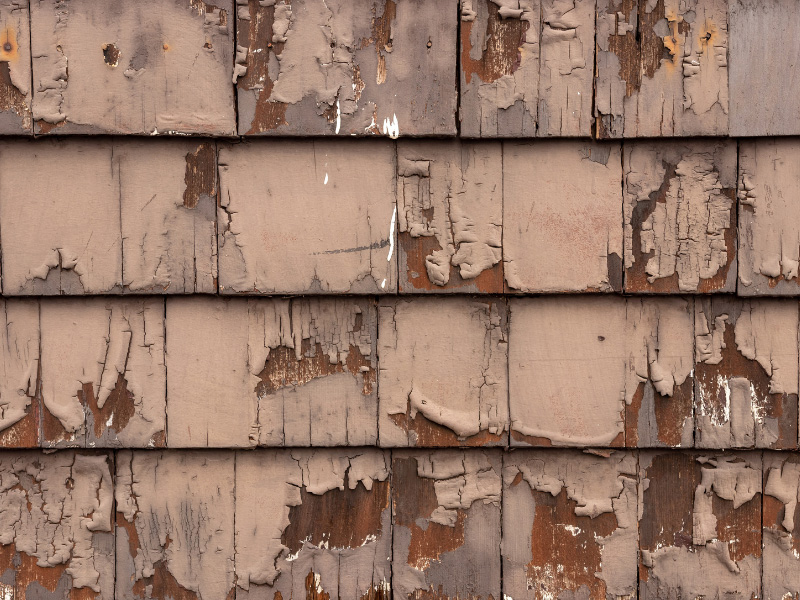
It’s easy to get worried about beat-up wood siding. Rotting and weathered wood is surprisingly common, especially in the Pacific Northwest. While deteriorating wood complicates the painting process, you’ll be happy to hear that it doesn’t make your home unpaintable. With a bit of time and effort, the right prep work can create a smooth surface to paint on. Say goodbye to wear and tear and say hello to a beautifully painted exterior!
Prepare The Wood Surface To Be Painted
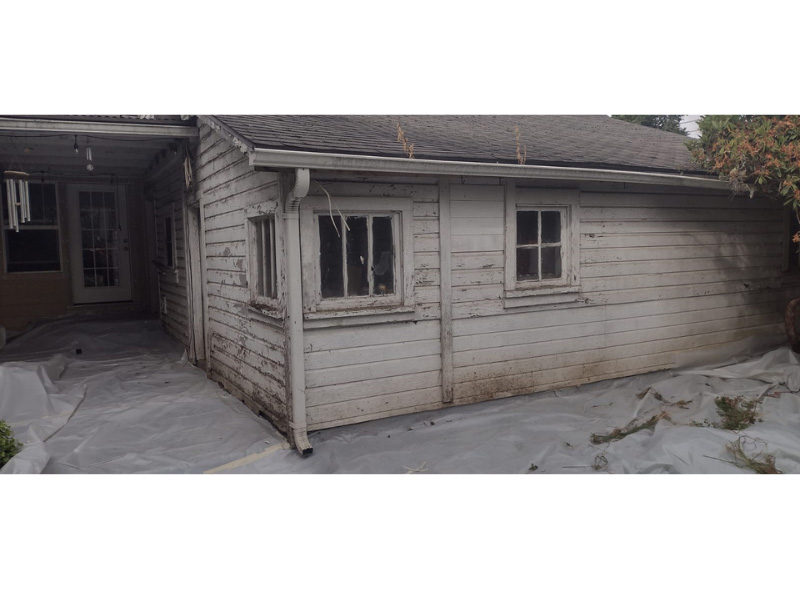
One of the main reasons people have a hard time updating their exterior paint when trying to cover up weathered wood is the fact that paint doesn’t adhere very well to uneven or dirty surfaces. If you try to paint over deteriorating wood without any surface preparation, the paint job will be unsightly and won’t last very long before beginning to fall off the wood again. Prep work is one of the most important parts of any house paint job. Especially when painting over old and crumbling wood.
Weathered or not, you’ll need to prep wood to ensure paint sticks to it (Hurst). Prepping old wood takes a bit of effort and time, but it’s essential if you want your work to end in a paint job well done. Not sure what prepping the wood entails? We’ll explain how to prep your wood surface step by step.
What If There’s Lead In The Old Paint?
If your home was built before 1978, there’s a chance there could be lead lurking in the walls. Lead paint is dangerous, so if you suspect it’s on or in your home, get a lead paint test as soon as possible. If the test comes back positive, you’ll need to have the lead paint professionally removed before you can start painting. Learn more about removing lead paint from your home HERE.
Pro Tip: JK Paint & Contracting offers safe, professional, and certified lead paint renovations for Portland Metro area homes. If you’re in need of lead paint removal, contact JK Paint to get started.
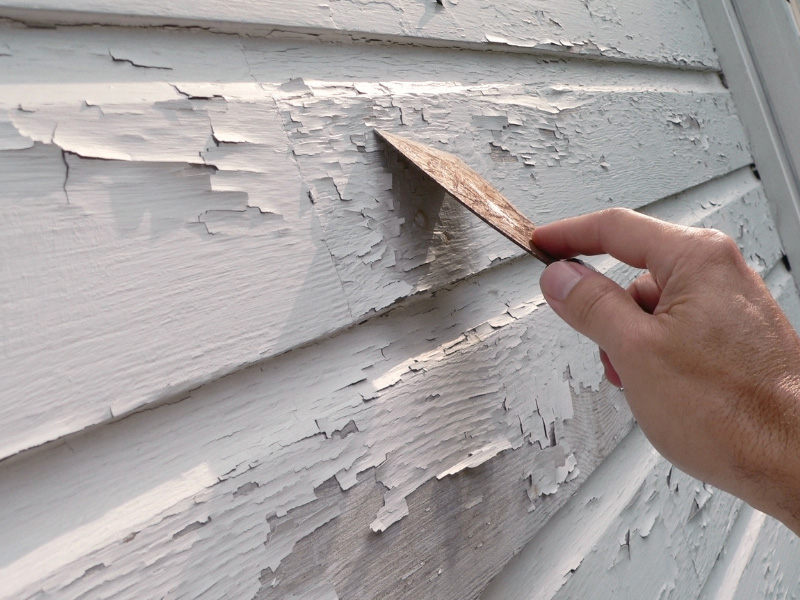
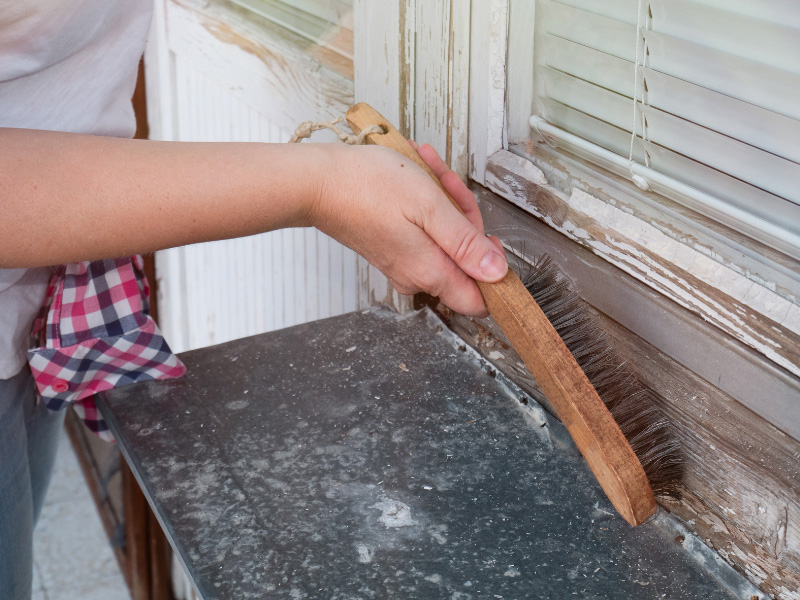
Remove Rot, Mold, & Flaking Paint
First things first, remove flaking paint and any type of rot. Old paint and organic mold can be removed with a medium-bristle brush and a paint scraper (“Problem Solving – How To Remove Old Paint”). Run the scraper over larger pieces of chipped and flaking paint or mold, then rub the bristle brush over the area to get rid of any excess pieces or smaller particles.
Dry rot is a little more complicated to spot and treat. Dry rot is the decay of timber (“Dry Rot – Causes, Identification & Solution”) caused by damp conditions. If you see dry, crumbly sections of wood or soft and soggy spots, it’s most likely rot. If you’re not 100 percent sure, drive the tip of a screwdriver into the wood—if it slides in easily, the wood is rotten.

How To Treat Wood Rot
- Start by applying bleach (David) to the rotting area. Or use boric acid (“How To Stop Wood Rot From Spreading On Your Deck”). Both will kill the rot and prevent it from growing.
- Remove existing rot with a scraper.
- If there are any holes, you can fill them with wood filler. Depending on the extent of the rot, however, you may need to replace entire wood boards. Using preservative-treated wood (Cudby) will prevent future rot growth.
- After removing the rot from the wood, clean and apply fungicide to all surfaces within five feet of the rot. This extra precaution makes certain that the rot won’t come back.
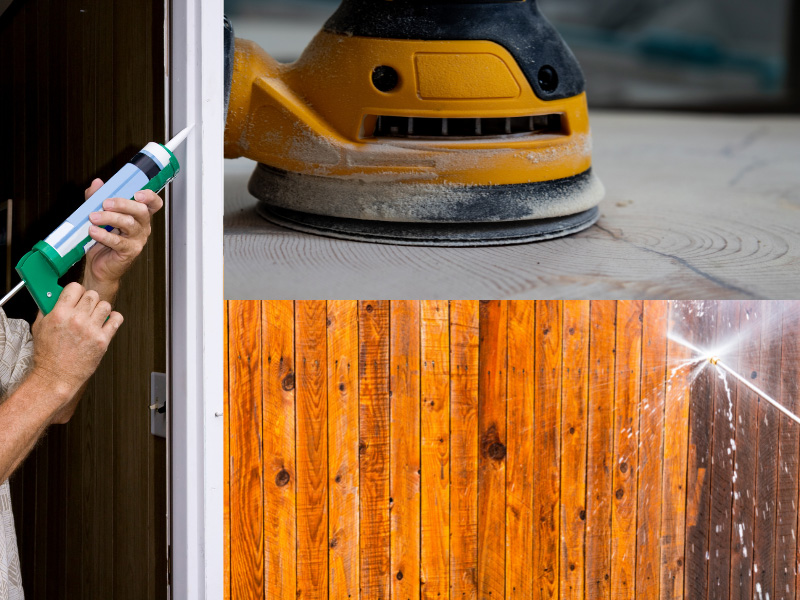
Fix Cracks With Caulk
If there are seams or cracks in the wood, it’s best to fill them with a paintable and weather-resistant caulk. Use a caulking gun to apply the caulk and wipe away any excess with a soft and damp cloth.You could decide between using wood filler or caulk (“Caulk or wood filler: choose the right one for every project”), depending on the type of hole needing to be filled.
Sand & Wash The Wood
Sand any areas that you filled with caulk or wood filler in addition to any heavily weathered areas. Use coarse sandpaper—60 to 80-grit is ideal for removing old paint and primer (“What Grit Sandpaper For Wood? [Raw And Painted]”)—to make the surface smooth and even. Once you’re done sanding, bring out the power washer or a hose to wash off all the sanding dust and any other dirt and grime still on the siding. After washing the surface, leave it to dry for three to four days.
Pro Tip: It’s best to do this type of work on warmer days when the sun will be out so you can be assured of a thorough dry.
Painting Tools
Once the prep work is done, you can start the paint job. Here is a list of the most important tools and supplies you’ll need for the exterior painting portion of your project:
- Stain-blocking primer
- Exterior paint
- Paint sprayer
- Paint brushes
Pro Tip: You’ll also want to include the following tools for the best finish:
- Painter’s tape: Tape off the appropriate areas for clean lines.
- Drop cloths and plastic sheeting: Be sure to protect surrounding surfaces that you don’t want painted.
- Ladder: Assuming your house is taller than you are, it’ll be good to have a ladder on hand to paint those hard to reach places.
Why Do I Need These Painting Materials?
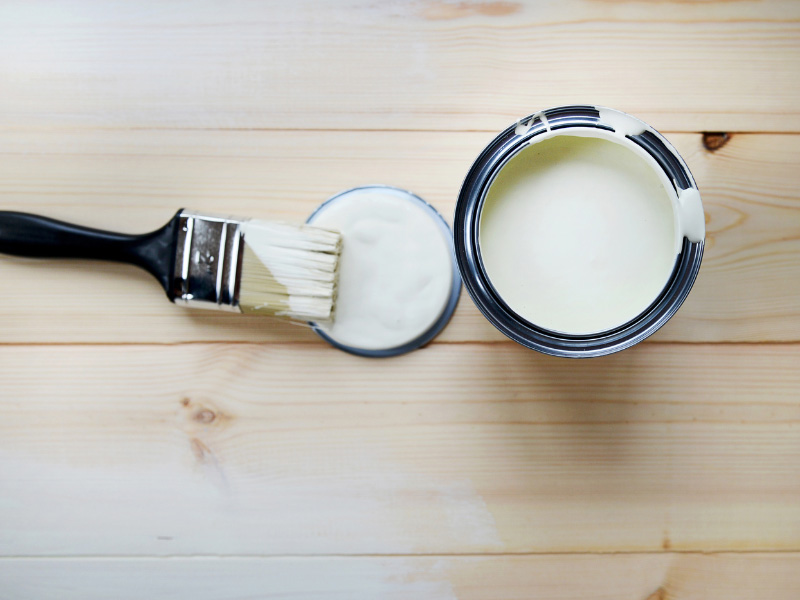
Wood Primer
When it comes to rotting or weathered wood, the primer is especially important. Primer comes in two forms: oil-based and water-based. Our tip for painting over rotting or weathered wood is to use oil-based primers, because oil primers seal the wood grains and prevent bubbling. Prime any filled spots first, and then work your way from the top of the exterior wall to the bottom. We recommend Extreme Block Interior/Exterior Stain Blocking Alkyd Primer by Sherwin Williams.
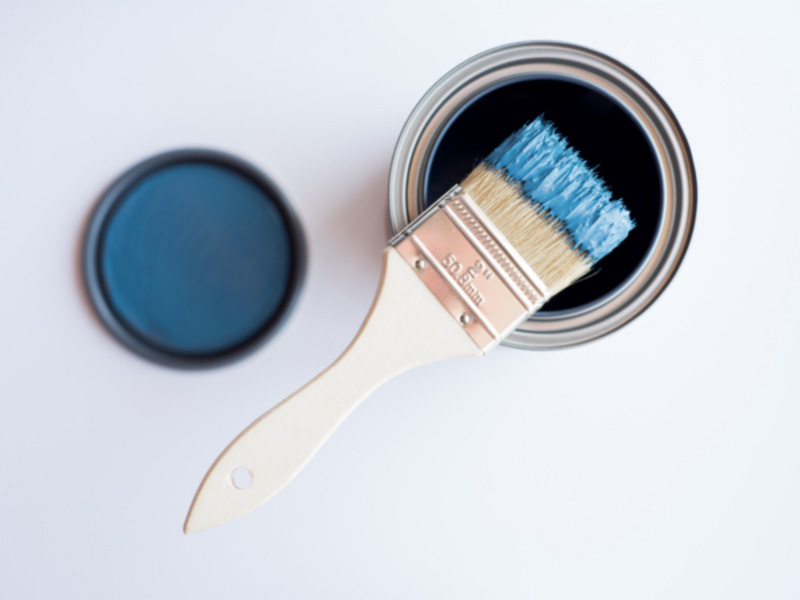
Wood Paint
The paint you choose is just as crucial. It’s an obvious supply for a paint project, but be sure that whichever one you choose is suitable for the exterior of your home. A flat acrylic latex paint (Murphy) is ideal for weathered wood. White a high-gloss alkyd or oil paint (“Choosing The Right Paint”) will work well for trims.
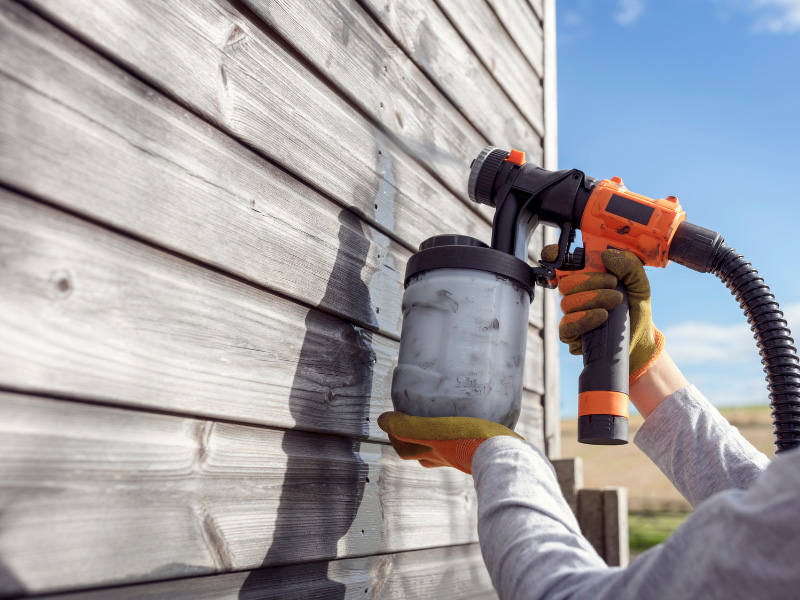
Paint Sprayer Or Rollers
Paint sprayers aren’t actually necessary if you’d rather use a paint roller. However, a paint sprayer is definitely beneficial in speeding up the painting process of larger projects and getting even layers of paint on the surface. If you’re painting a large section or your whole house, it’s best to stick to a sprayer.
Paint Brushes
Regarding paint brushes, you’ll want to get the best highest-quality paint brushes (“10 Best Paintbrushes for Exterior House Painting + How to Choose”) you can afford. For painting on wood, we recommend using synthetic nylon and polyester brushes because they work better with oil and latex paints. They’re also less expensive, hold more paint, and create a smoother finish than natural animal hair brushes. Having a quality paint brush on hand is great for finishing touch ups and getting trim or corners as well.
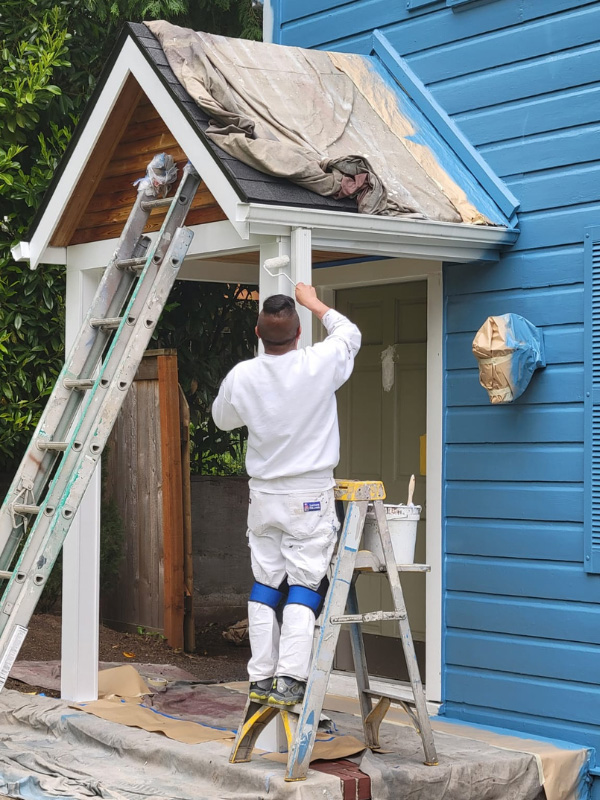
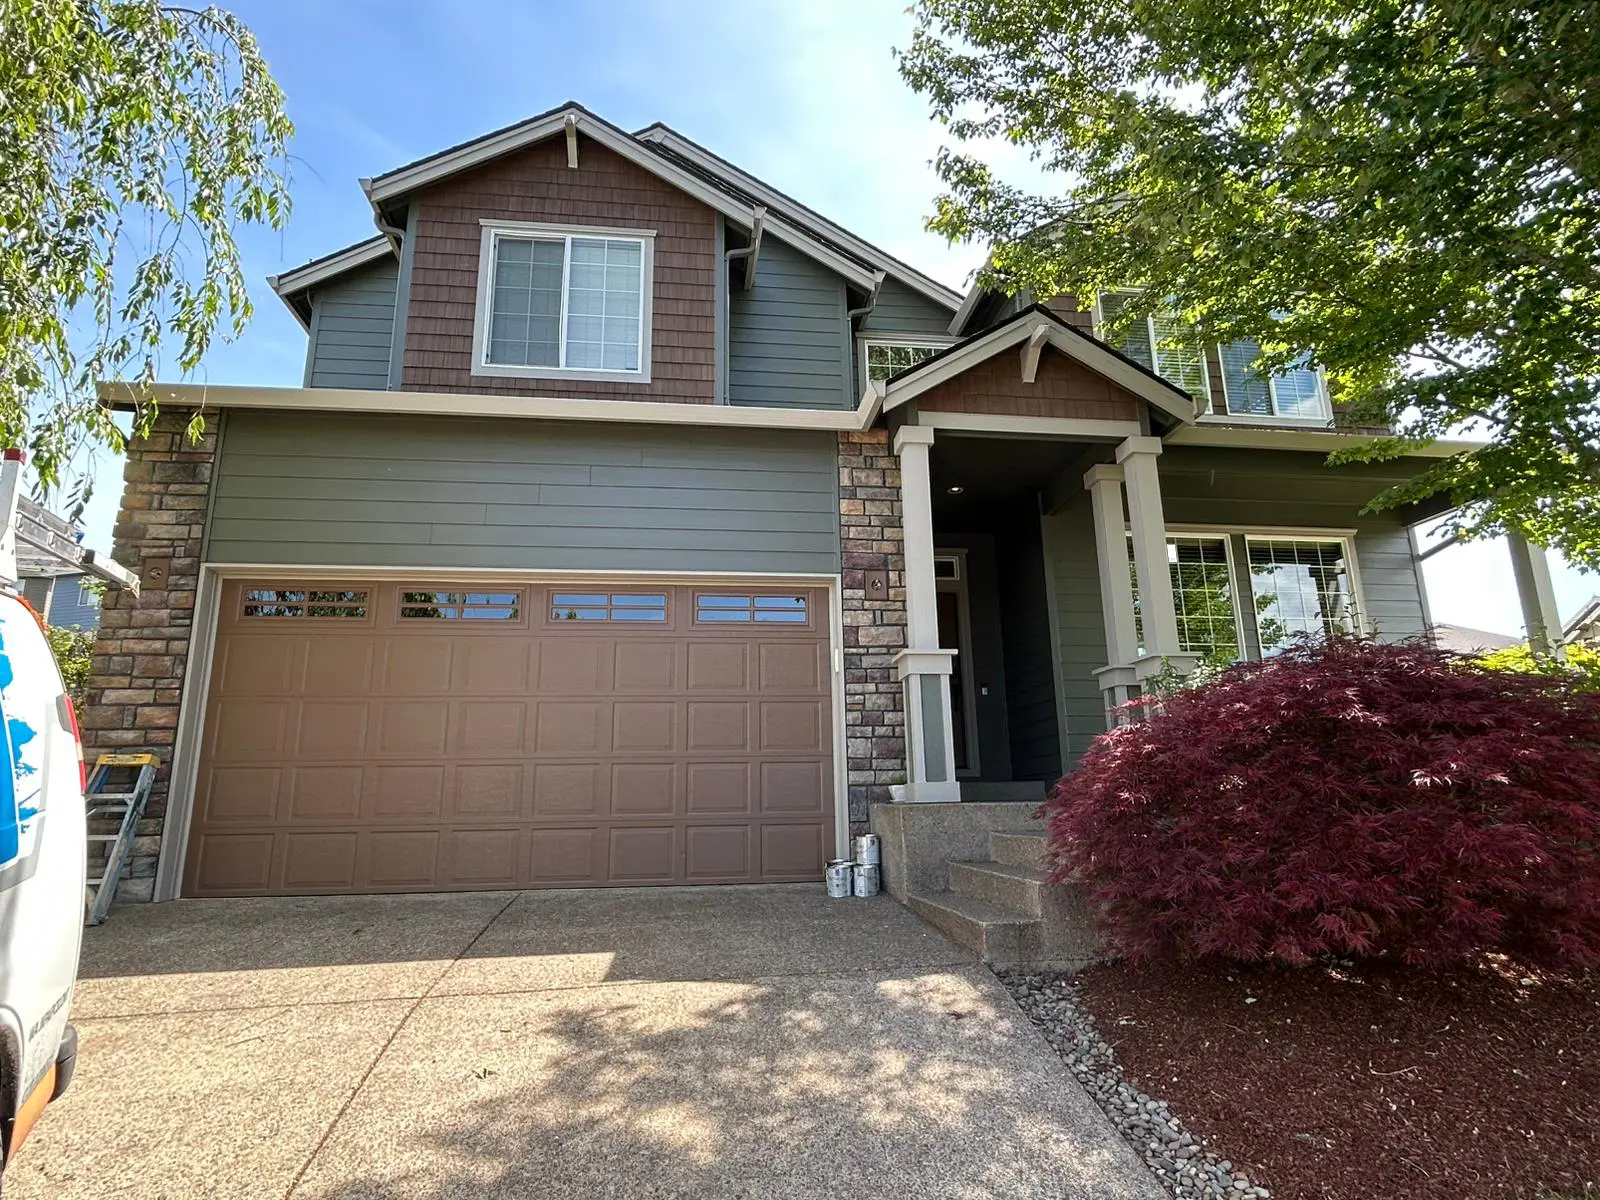
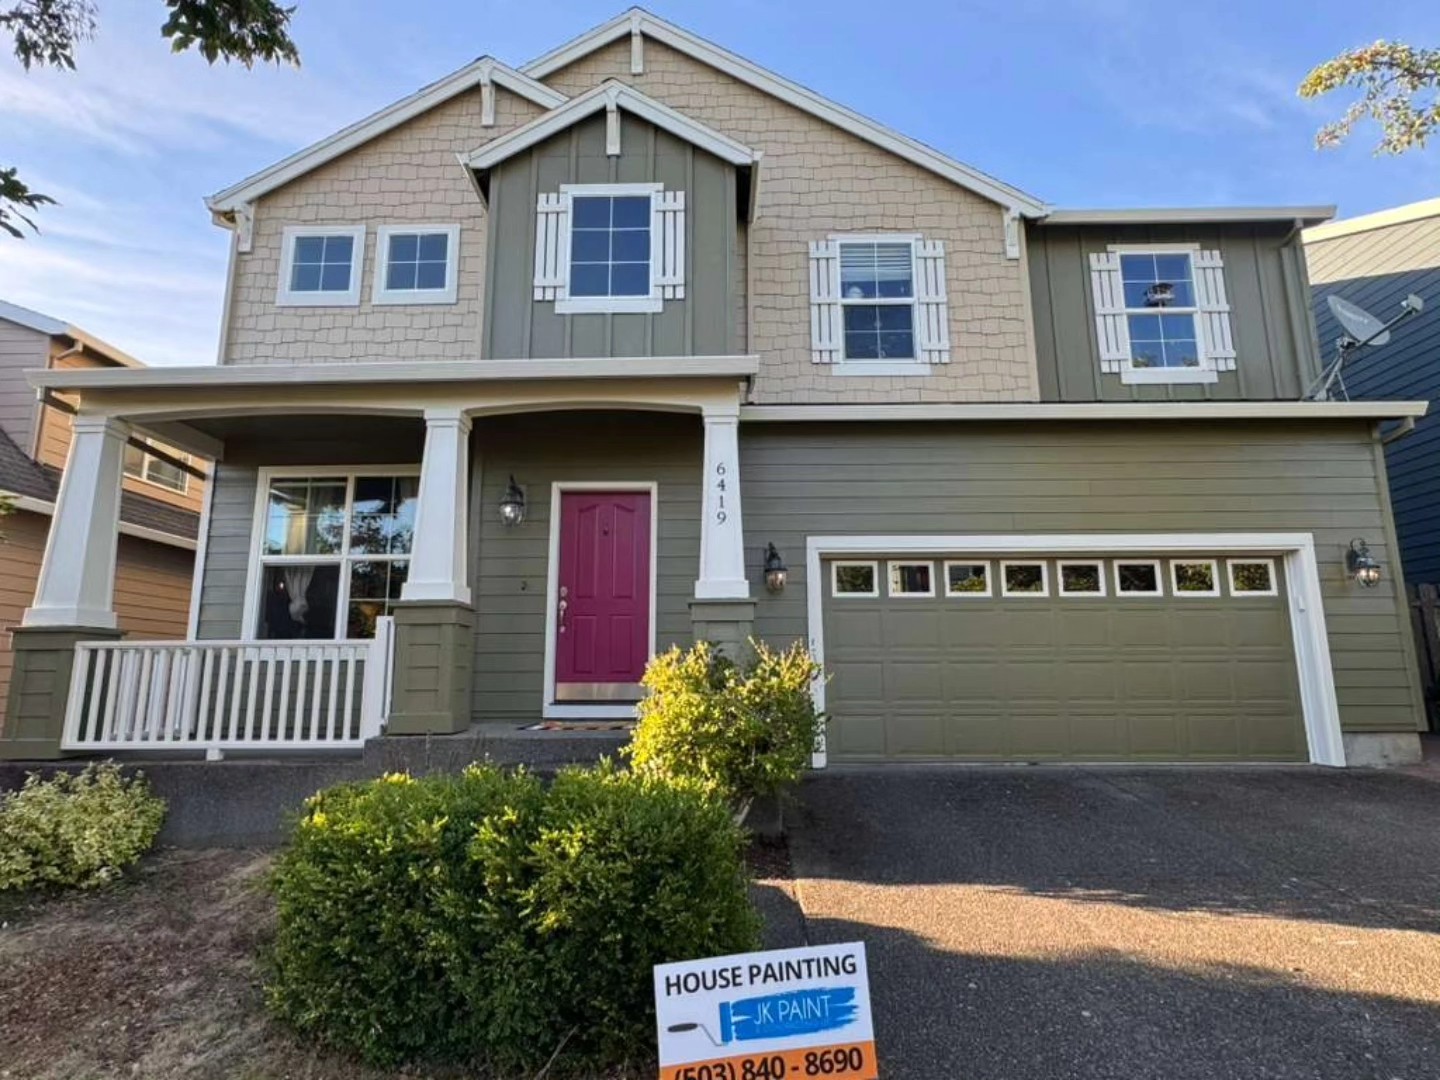
Paint Your Home
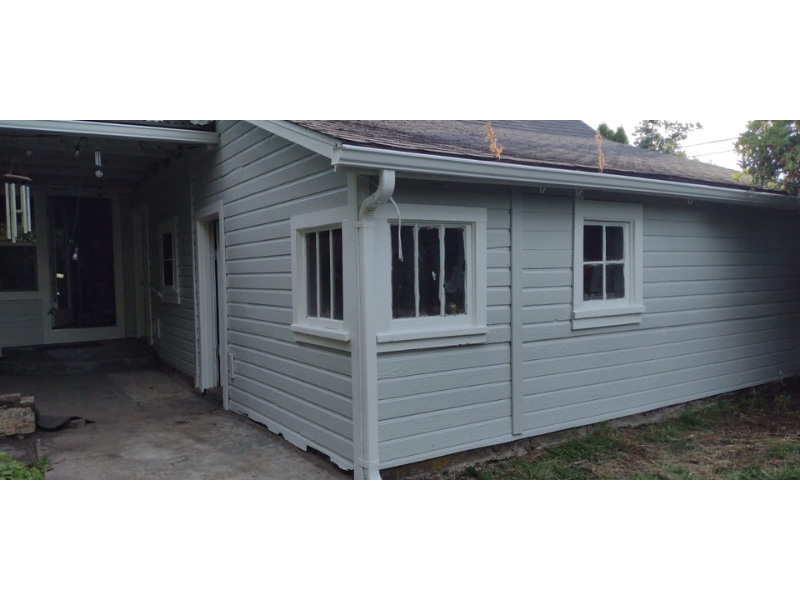
After prep and setting up supplies, you’re good to start painting your home. We recommend starting from top to bottom. A top-down approach ensures paint drips won’t ruin the final look of your home. While there’s nothing stopping you from only applying one coat of paint, one or two extra coats will greatly increase the durability of your paint job and decrease the need for future repair work.
Need Help With Updating The Paint On Your House?
Does painting your home alone sound daunting? If you don’t want to tackle weathered wood on your own, JK Paint & Contracting serves the Portland Metro Area of Oregon. Our team would be happy to help you paint your house. We’re experts in lead paint removal, dry rot removal, exterior painting, interior painting and more. Contact us to learn more or to get a free quote on your project!
