
Table Of Contents
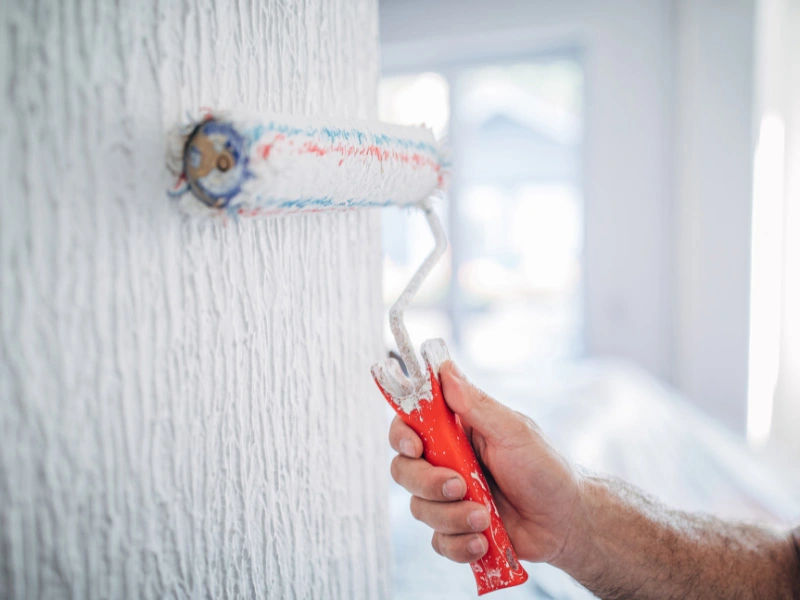
Painting bumpy, textured surfaces might not be the easiest task, but it isn’t impossible either. With the right materials, good technique, and dedication, you can give your rough, indented walls and ceiling a fresh coat of paint. Need some help? Here’s what to know about painting textured interior surfaces.
Tools And Materials For Painting Textured Surfaces
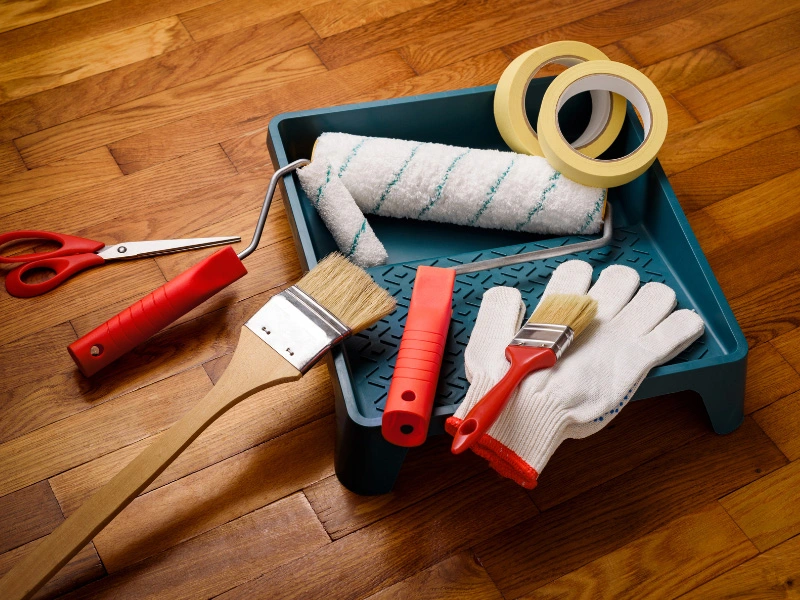
You’ll need classic painting tools, including the paint, brushes, and a tarp or drop cloth, but you’ll also need some extra materials that are better suited for the task at hand. Here’s what you should get before you start painting:
- Interior paint
- Primer
- Spackle
- Putty knife
- Angled paint brush
- Chip paint brush
- Paint roller, extension poll, and tray
- Ladder
- Gloves (optional)
- Painter’s tape
- Drop cloth, tarp, or roller paper
Pro Tip: Using a paint roller instead of a traditional paint brush for the bulk of the project will help to get paint into the crevasses of your textured surface (“How to Paint a Textured Ceiling and get Perfect Results”).
Prepare The Surface Step By Step
Prep Step 1
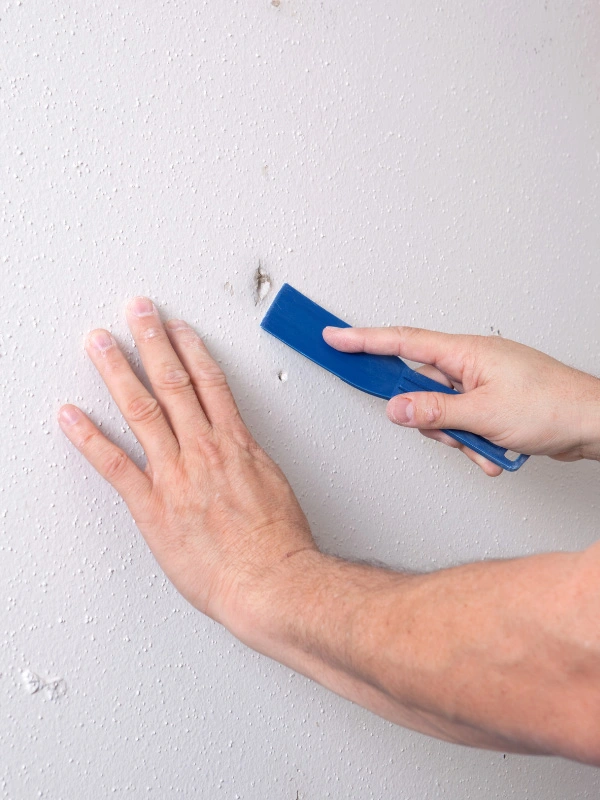
Prepping the surface of any paint job is crucial for a quality result. Remove all hanging hardware, such as paintings, shelves, or metal hooks and nails. Then start prepping the surface by filling any holes or scratches left behind. Use a putty knife to spread spackle over the indents and wait for it to dry.
Prep Step 2
After that, you’ll want to clean your walls and ceiling. The crevices of textured walls can easily trap debris like dirt and dust. It’s easiest to vacuum and wipe everything down (Jackson). Start by vacuuming the textured surfaces and finish by wiping them down with a clean, damp cloth.
Pro Tip: If you’re painting around outlets and switches, remove the covers before painting. Taping is always an option, but remember—small mistakes can get messy fast. Removing the covers is a better way to keep everything tidy with clean lines.
Prep Step 3
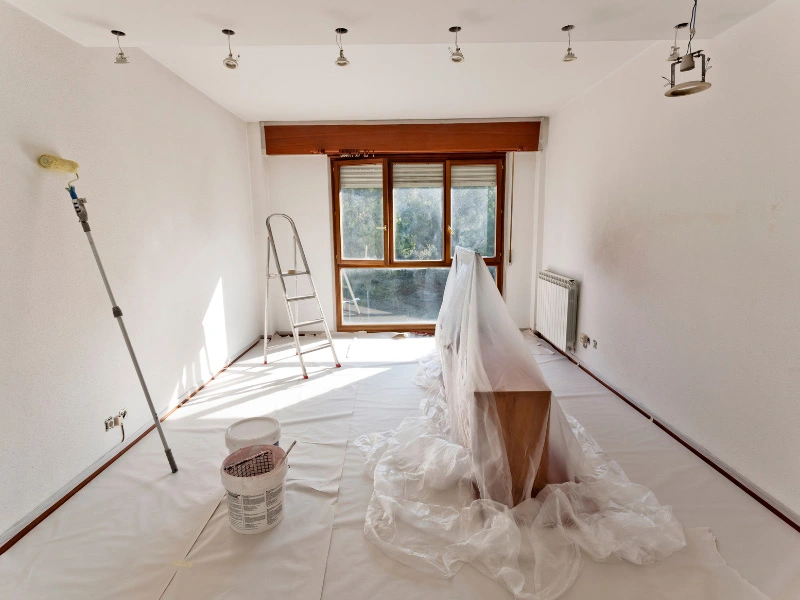
Next, grab your tarp and/or drop cloths and cover the floor or any surfaces that you don’t want paint to get on. If you have any furniture in the room(s) you’re painting, it’s best to store it in a different room. If you’re only painting walls, you can also just move furniture to the center of the space, to get them out of the way.
Prep Step 4
Finally, apply any painter’s tape as necessary. For a tight seal, press on the tape with your putty knife. Make sure the painters tape is pulled taught without wrinkles so it’s secure enough to not have paint bleed through where it shouldn’t.
Paint The Ceiling And Walls Step By Step
When preparations are finished, get ready to paint! If you’re painting both your walls and ceilings, paint the ceiling first (Hamilton). With most painting projects, it’s recommended to go from top to bottom. This is true for when you paint your walls as well. Start at the top and make your way down to avoid leaving any paint drippings and other unwanted paint messes.
Pro Tip: If the paint you’re painting over is glossy, it’s best to give the textured surface a light sanding (“How to Prepare Walls for Painting”) so the new paint sticks easier. You’ll want to do this step before “Prep Step 2.”
Paint Step 1
Start by priming the surface. This first step of painting doubles as a step in preparation as well. You can find specific primers designed for textured surfaces. Normally, these are labeled as “high-build” or “problem surface” primers.
Primer is incredibly important for proper paint adhesion (“Painting Over Textured Walls: What You Should Know”). Pick a white or tinted primer that’s close in shade to the original paint color. Oil or latex-based primer works, but oil primer can be used with more types of paints (“How to Paint Textured Walls (DIYer’s Guide)”). You can top oil primer with either oil or latex-based paint. However, latex primers don’t take to oil-based paint very well.
Pro Tip: If you use an oil based primer, you probably won’t have to sand (Linauer and Lideros)!


Paint Step 2
Once you’ve applied the primer, dip your angled brush into the paint. You’ll want to paint the wall or ceiling edges first. This protects abutting surfaces such as your ceiling and wall from being ruined by stray paint strokes. The angled brush will maintain straight lines (“Choosing the right paint brush”) for a clean finished look.
Paint Step 3
When all the edges are complete, you can focus on the rest of the surface. Using either a ladder or a paint roller pole extender, paint over the textured surface. Roll the paint roller in the paint tray to get an even coating and begin working from the top down.
Pro Tip: Use the “W” method (Kraus) to paint. Do this in wide strokes, making a “W” shape with your roller as you go over each section of wall. Fill in the empty spaces of the W to make a square then move on to the next section. This way of painting covers more area in less time.
Paint Step 4
When you’re done, step back. Examine the walls for any missed areas, and if you find any, touch them up with a chip brush (Kay and Taillon). If you want a darker, richer color, you can add a second or third coat of paint. Wait for the paint to dry before adding another coat, and before removing your painter’s tape or moving the furniture back into the room. It will take about 24 hours for each coat to fully dry.
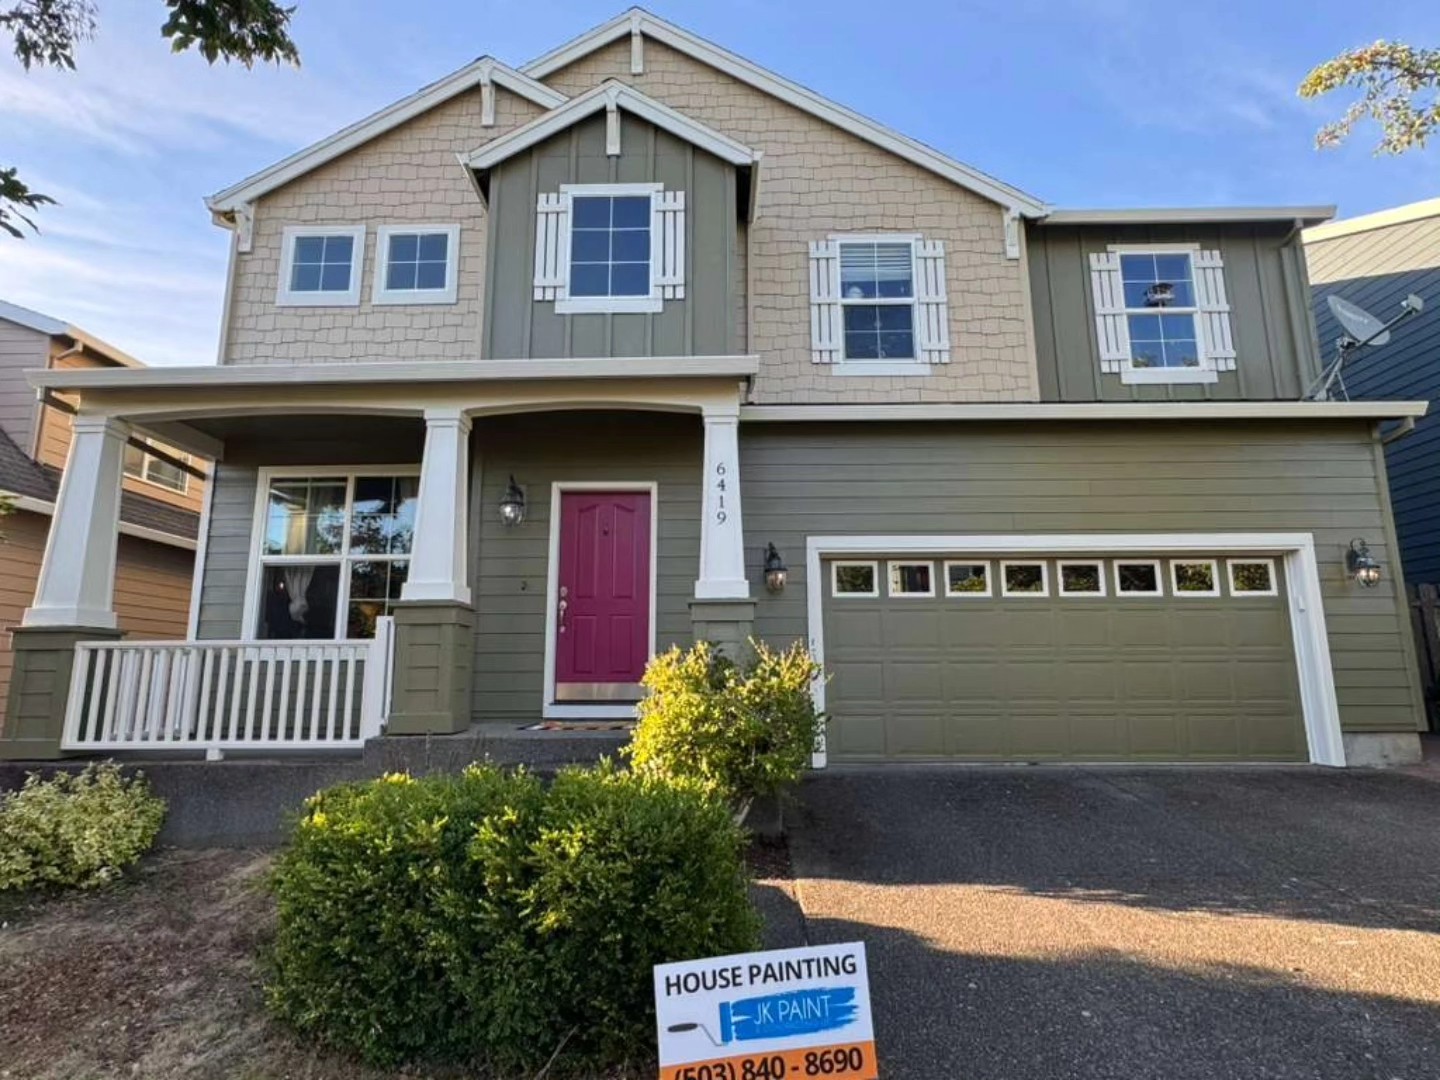
Pro Tip: If you’re having trouble painting over bumpy, textured surfaces, JK Paint & Contracting is a crew of professional interior painters that can help you with all your interior painting needs throughout the Portland Metro Area.
How To Coordinate Your Walls And Ceiling
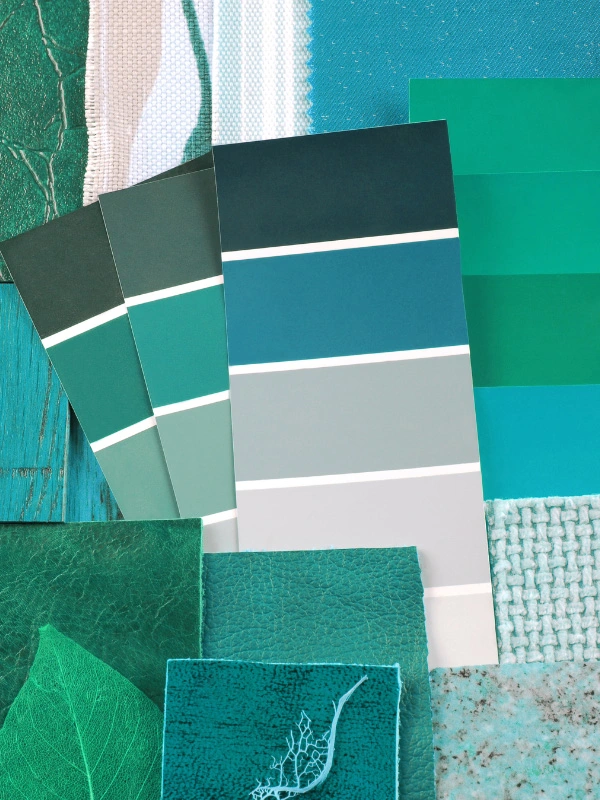
Whether they’re textured or not, selecting the right color for your walls and ceilings can make your room stand out, or, if you’d prefer, blend seamlessly together. Walls and ceilings can match, but sometimes letting them play off of each other with different colors looks better, depending on the style of the room and personal preference.
Paint The Walls And Ceiling The Same Color
Painting walls and ceilings cohesively can elongate rooms that are small (“Rules for Painting Ceilings: Should Walls & Ceilings Be The Same Color?”), narrow, or have low ceilings. Whether you choose a lighter or darker color, the room will flow together without any cut off points which will make it appear larger. If you want the ceiling and wall to have the same color but would prefer some clash of color, play around with a different colored trim.
Paint The Walls And Ceiling Different Colors
If you want the color of your walls to pop, paint your ceiling a traditional, basic white. It’s a perfect complementary color to all others. A white ceiling will also reflect light (Wallender) and brighten the space without diverting attention from the darker, bolder paint on the walls. If you’re looking for a bit of variety, give some other, off-shades of white a try. There are shades such as pearl, alabaster, cotton, eggshell, and so on.
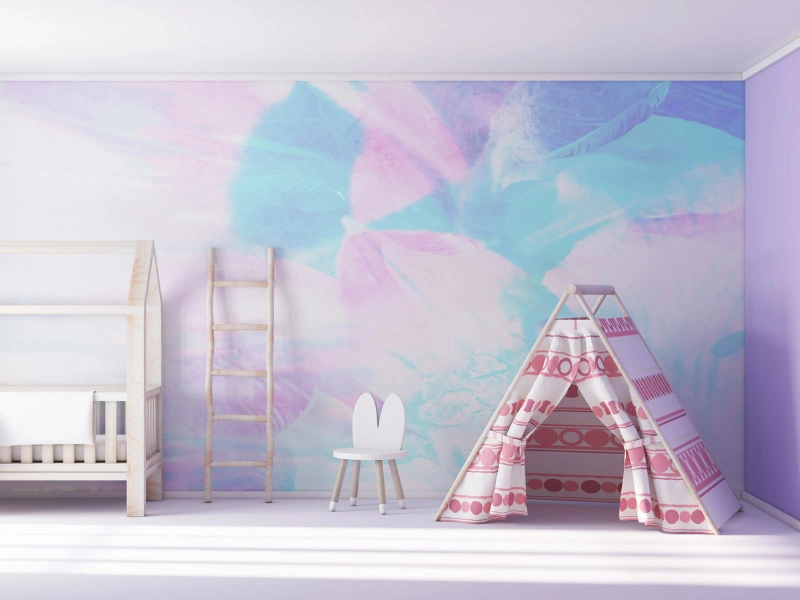
Paint The Walls And Ceiling Uniquely
Another way to match your walls with your ceiling is to do something unique. Murals (Keller), for example, are popular for nursery rooms (Attygalla), but this could also work in a living room, bedroom, and bathroom. A unique ceiling mural that is separate from a solid wall color looks stunning as well.
An easier option is simply painting an accent wall. Whether it’s a collage of different colors or a solid color different from the rest of the walls and ceiling. Accent walls are a nice addition to any room.
Pro Tip: If you don’t want to hire a professional artist to paint a mural on your walls or ceiling and don’t want to do it yourself, you could just change the paint colors where they’re needed and then have a sticker, wallpaper/ceiling paper, or stencil mural put on instead. If you’re working on textured surfaces, sanding may need to be done before trying to adhere any art.
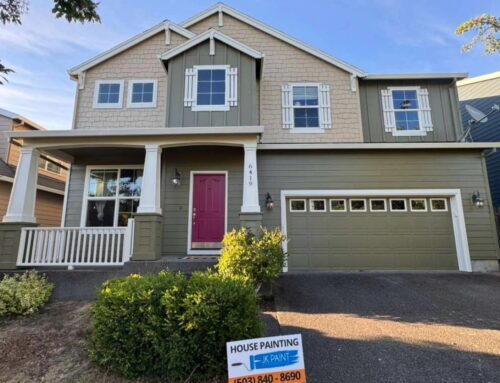
Professional Painters In The Portland Metro Area
Thinking of painting your walls and ceiling, but need some help? Look no further than JK Paint & Contracting. We offer interior and exterior painting services throughout the Portland Metro Area, in Oregon. Our reliable, consistent painters will make sure the job gets done right.

