A good paint job starts long before the first coat of paint goes on. Proper preparation helps paint stick better, look smoother, and last longer. For homeowners in Portland, prep work is especially important. Between the rainy weather, moisture, and wear and tear on older homes, there are plenty of things that can affect how well a paint job holds up.
In our original blog, Why is Prep Work so Important Before Painting?, we explained why preparation makes such a big difference in the finished product. For this updated 2026 guide, we’re taking a closer look at the actual steps that go into preparing a home for painting. Whether you’re planning an interior or exterior project, here are nine important steps to getting the job done right.
1. Inspect the Surfaces Before Starting
Before any painting begins, take a good look at the areas that need work. Check the walls, ceilings, doors, trim, or siding for peeling paint, cracks, stains, and other damage. Some problems are easy to fix with basic prep work. Others, like rotting wood, water-damaged drywall, or cracks that keep coming back, may need more attention before painting.
It’s also important to go over the job with your painter ahead of time. Make sure you know which areas are being painted, what repairs are included, and whether anything will need additional work. Getting these details figured out early helps avoid surprises once the project starts.
2. Check for Lead Paint in Older Homes
If your Portland home was built before 1978, there’s a chance it has lead-based paint underneath newer coats. Sanding or scraping lead paint can release harmful dust, so it’s important to check for it before starting any prep work.
The Environmental Protection Agency (EPA) provides guidelines for safely working around lead paint. For renovation work that disturbs lead-based paint in older homes, hiring a properly certified lead-safe contractor is important. Before starting, talk with your painter about the age of your home and whether lead-safe work practices are needed. JK Paint & Contracting also offers lead paint renovation services for older properties.
3. Fix Moisture Problems and Let Surfaces Dry
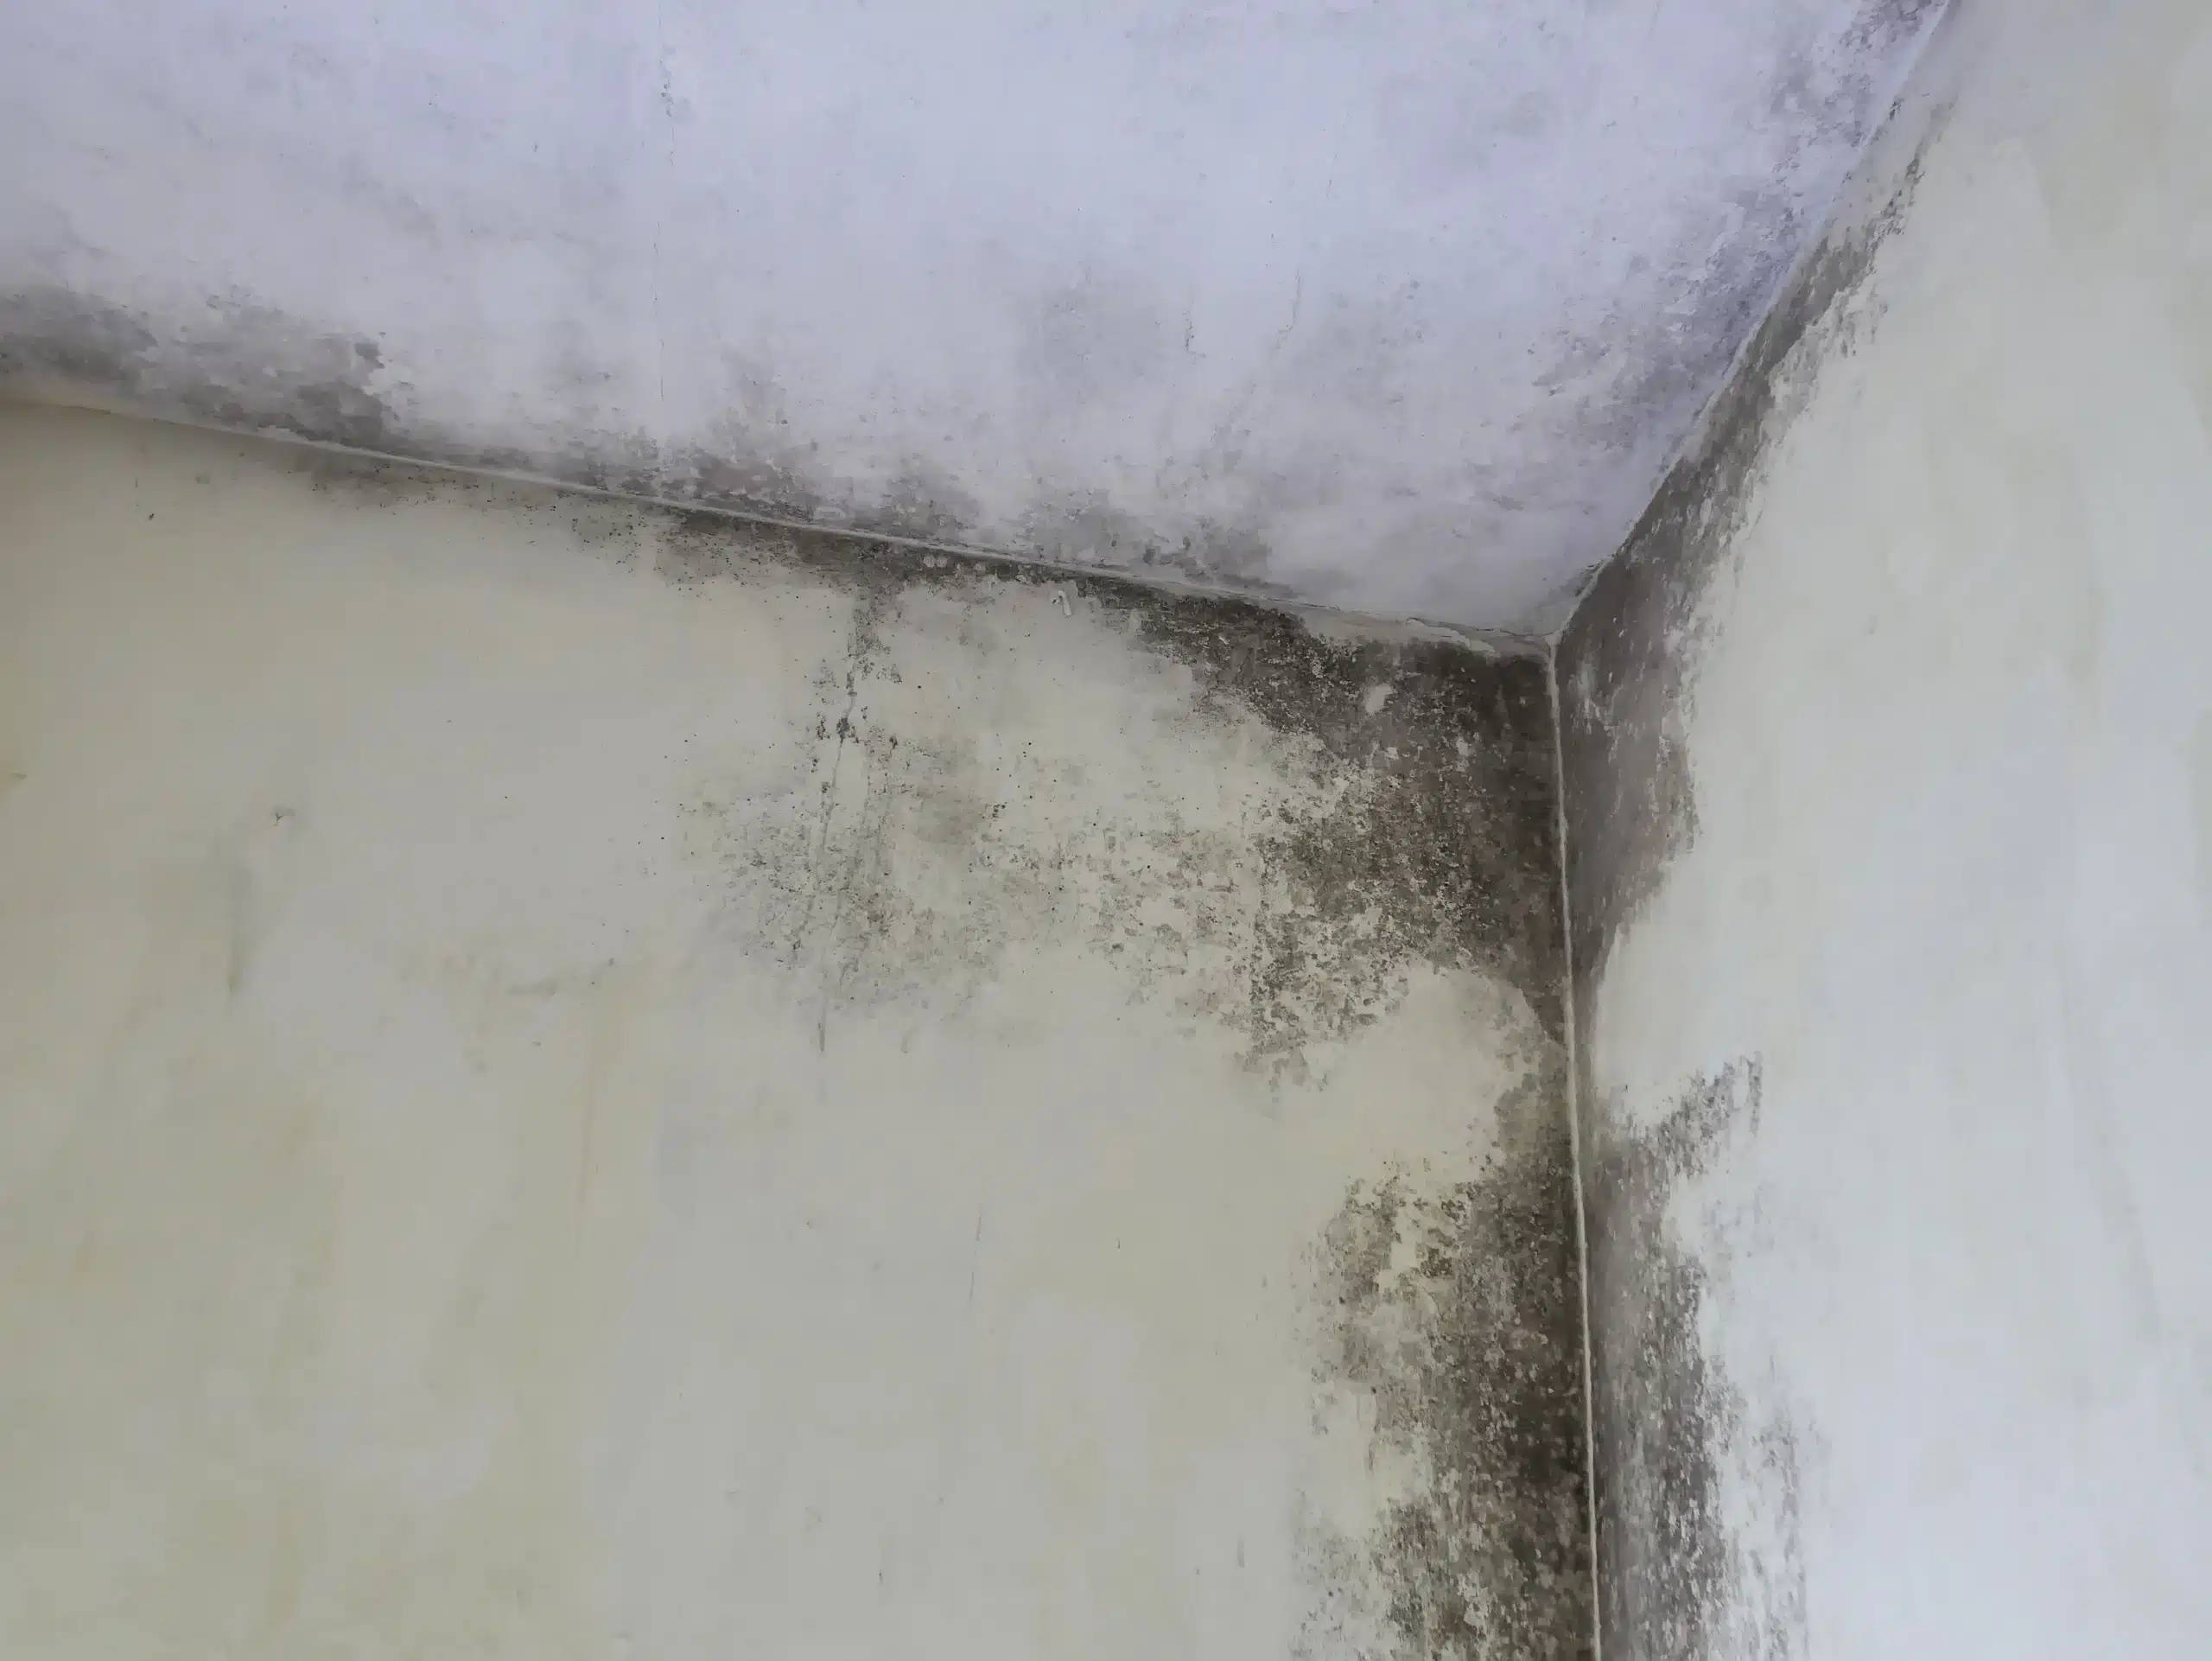
Moisture is one of the biggest problems when painting homes in Portland. If water gets trapped behind paint, it can cause bubbling, peeling, and other damage. Before painting, check for leaks, damp spots, and areas where moisture might be getting in. Outside, this could mean checking gutters, siding, and trim for damage. Inside, look for plumbing leaks, moisture around windows, and damp areas in bathrooms or kitchens.
Any moisture problems should be fixed before painting begins. It’s also important to give surfaces enough time to dry after cleaning or repairs. Even if a wall or piece of trim feels dry, there could still be moisture underneath. With Portland’s rainy weather, making sure everything is dry before painting is especially important for exterior projects.
4. Protect Furniture, Floors, and Surrounding Areas
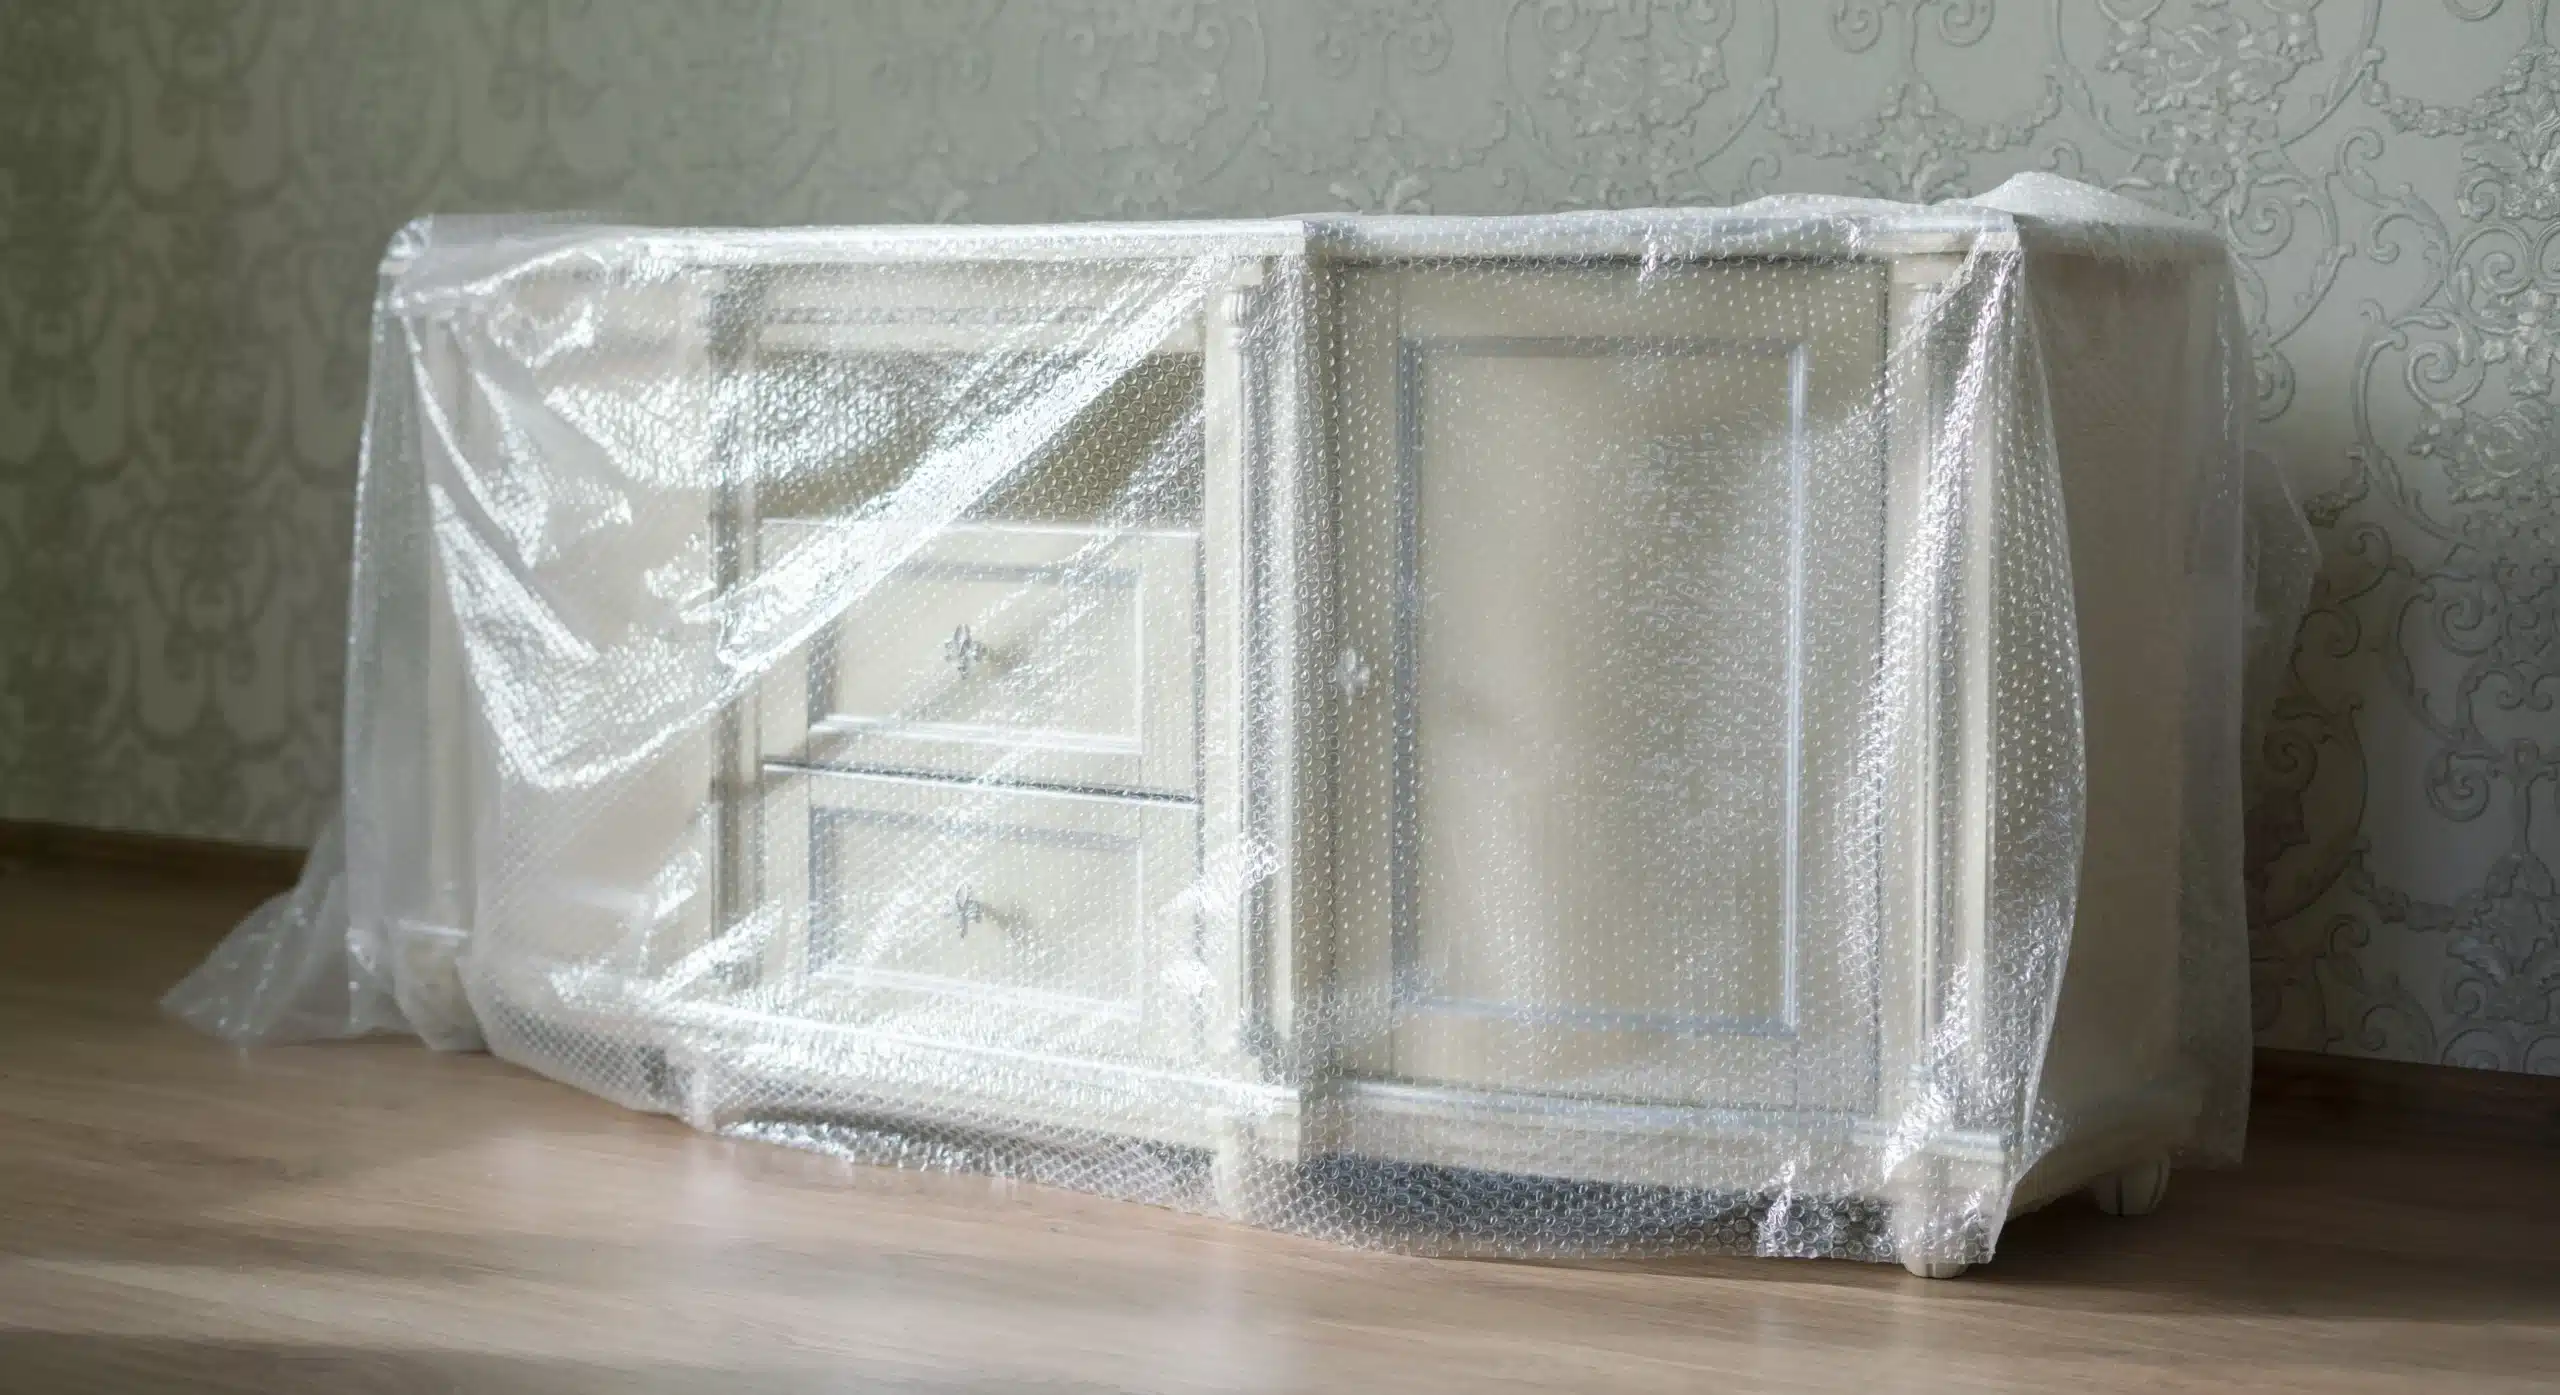
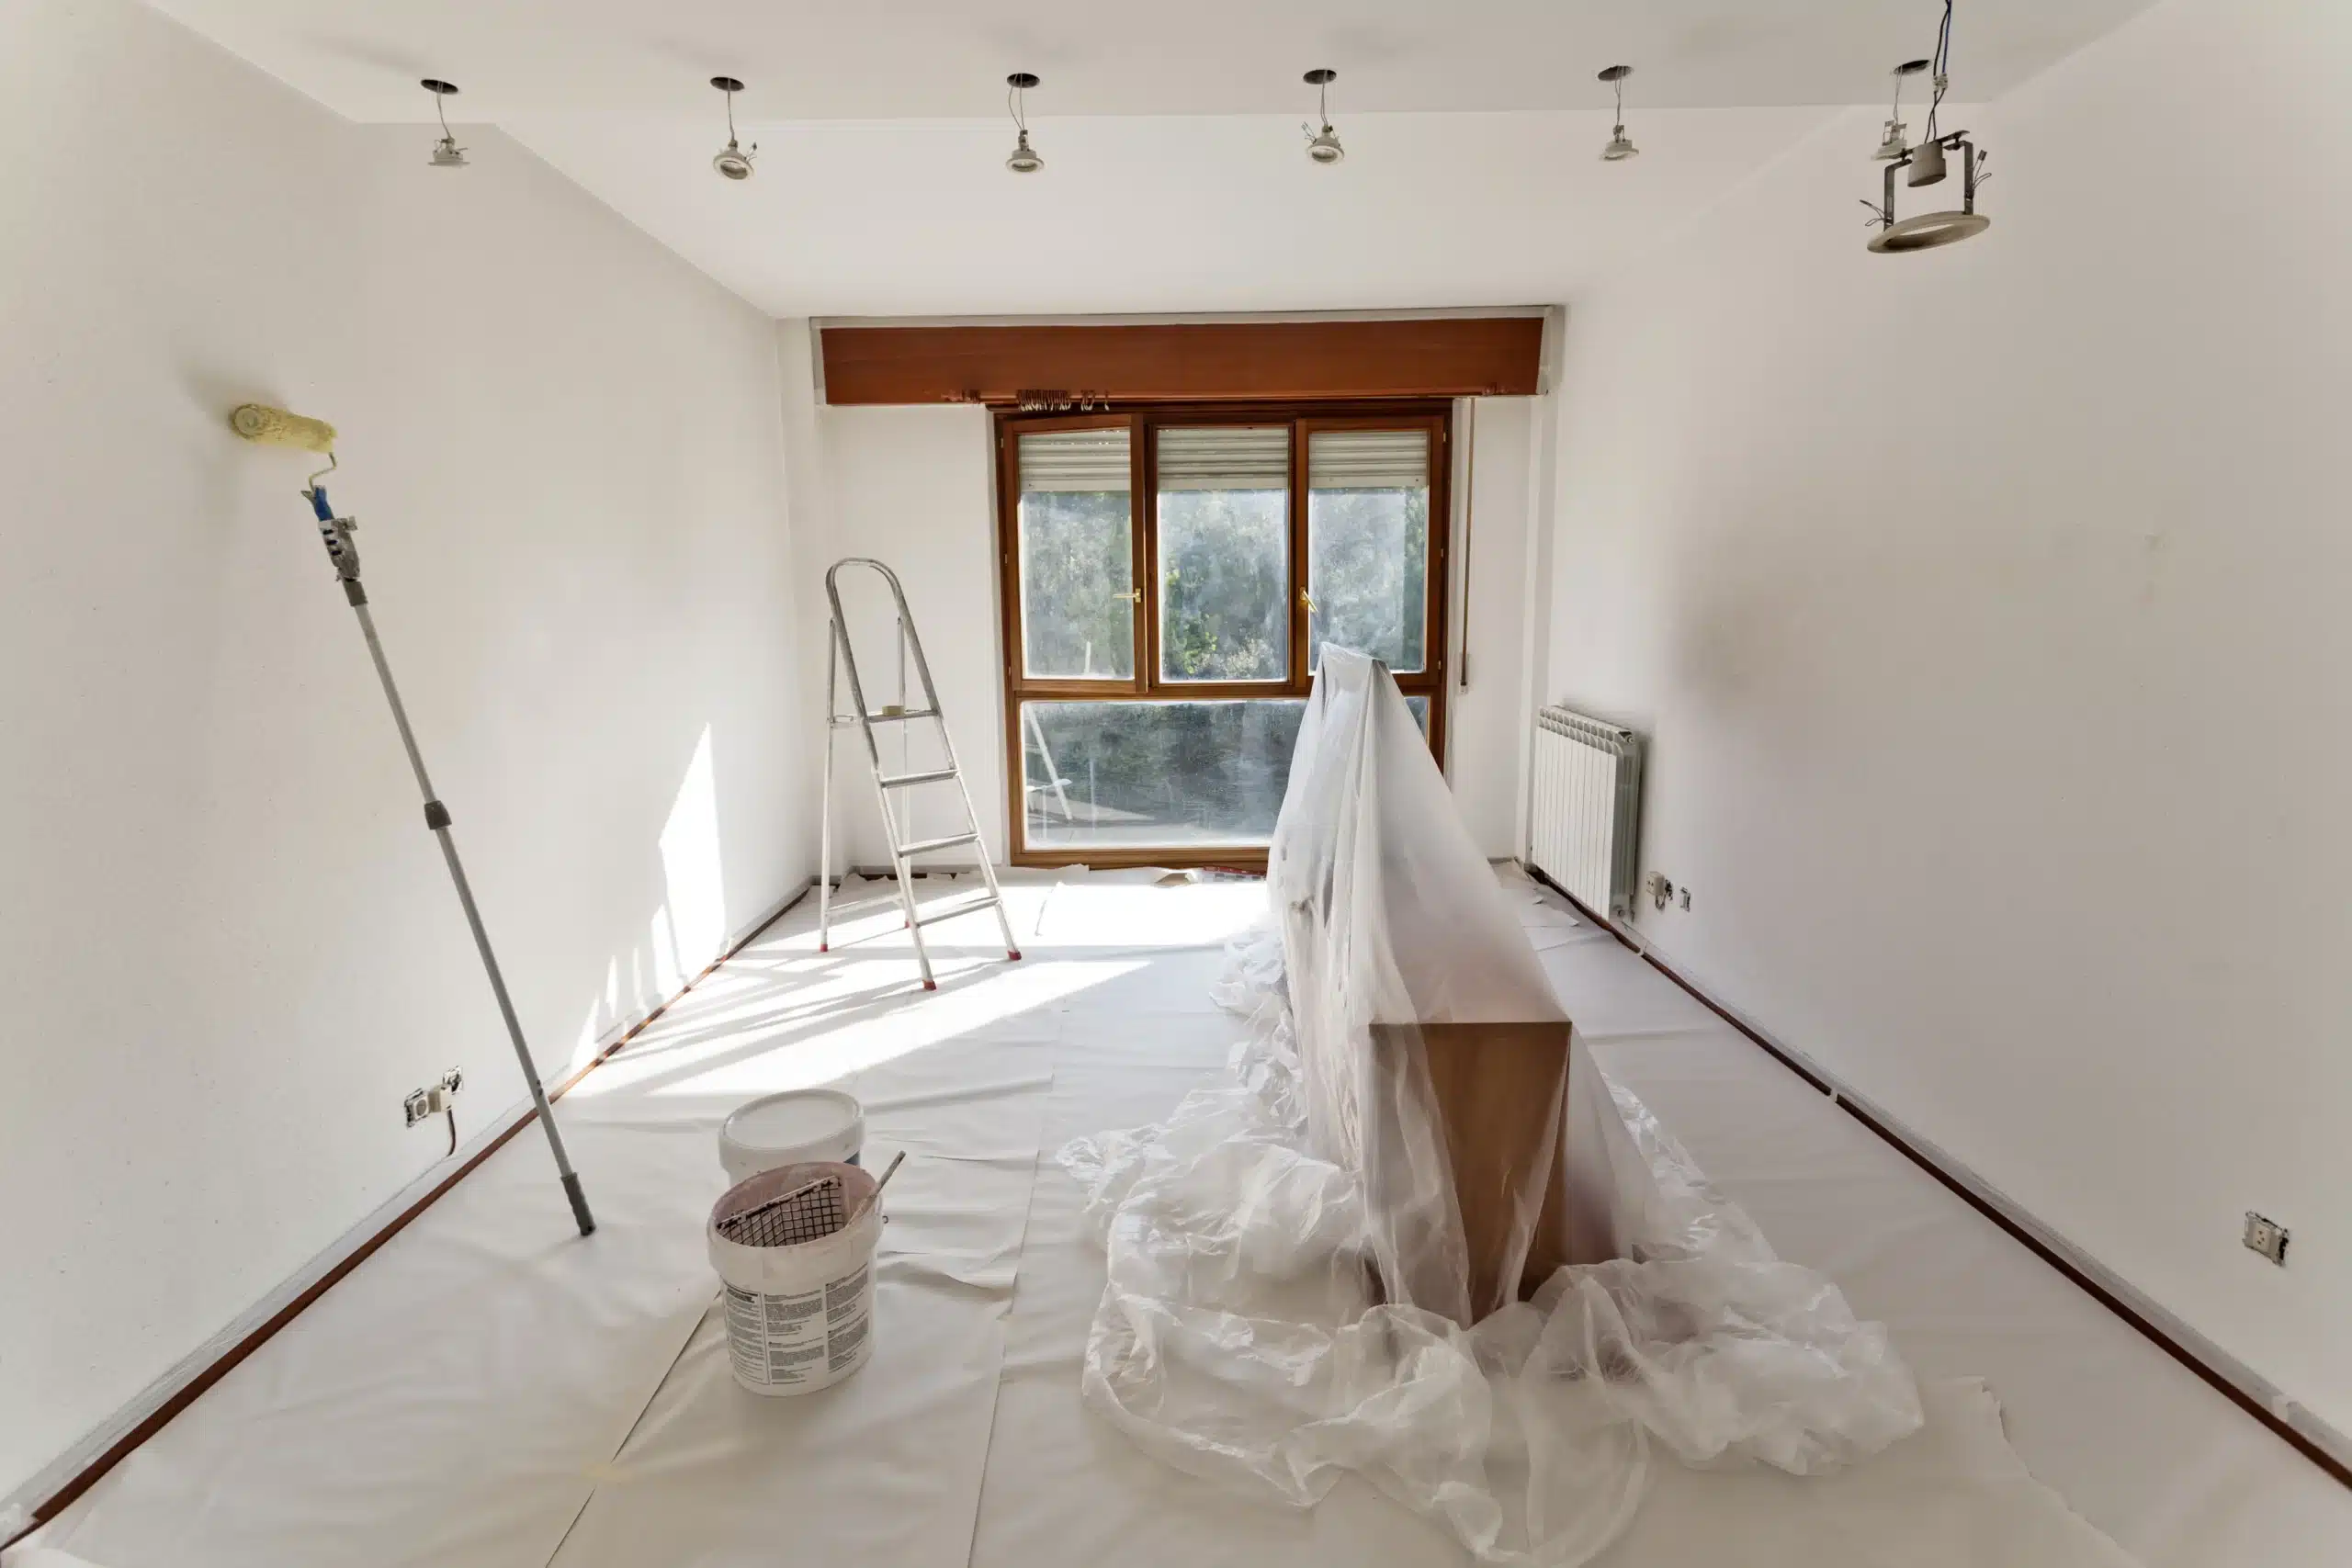
Before painting starts, make sure the work area is ready. For interior painting, move smaller furniture, decorations, and personal belongings out of the way. Cover floors and larger furniture to protect them from dust, paint, and other materials. You may also need to remove curtains, blinds, or other items that could get in the way.
For exterior painting, clear the areas around your home so painters can easily reach the siding and trim. Plants, outdoor furniture, light fixtures, and other nearby items should be protected as needed. It’s also important to keep children and pets away from active work areas and make sure there’s proper ventilation when painting indoors. Taking care of these things ahead of time helps the project run more smoothly and keeps your home protected.
5. Clean the Surfaces Before Painting
Paint needs a good surface underneath it. Dirt, dust, grease, and other buildup can keep paint from sticking properly. That’s why cleaning is an important part of paint preparation. For interior walls, this might mean wiping away dust, grease, or other residue with the right cleaner. Kitchens and bathrooms often need extra attention because of grease and moisture buildup.
For exterior painting, surfaces may need to be washed to remove dirt, mildew, and other buildup. Pressure washing can be useful, but it isn’t always the right choice. Some siding materials and older surfaces can be damaged by too much pressure. The cleaning method should depend on the surface and its condition. Once everything is clean, make sure any leftover cleaning products are rinsed away as needed and the surfaces are completely dry before moving on.
6. Scrape Loose Paint and Sand Rough Areas
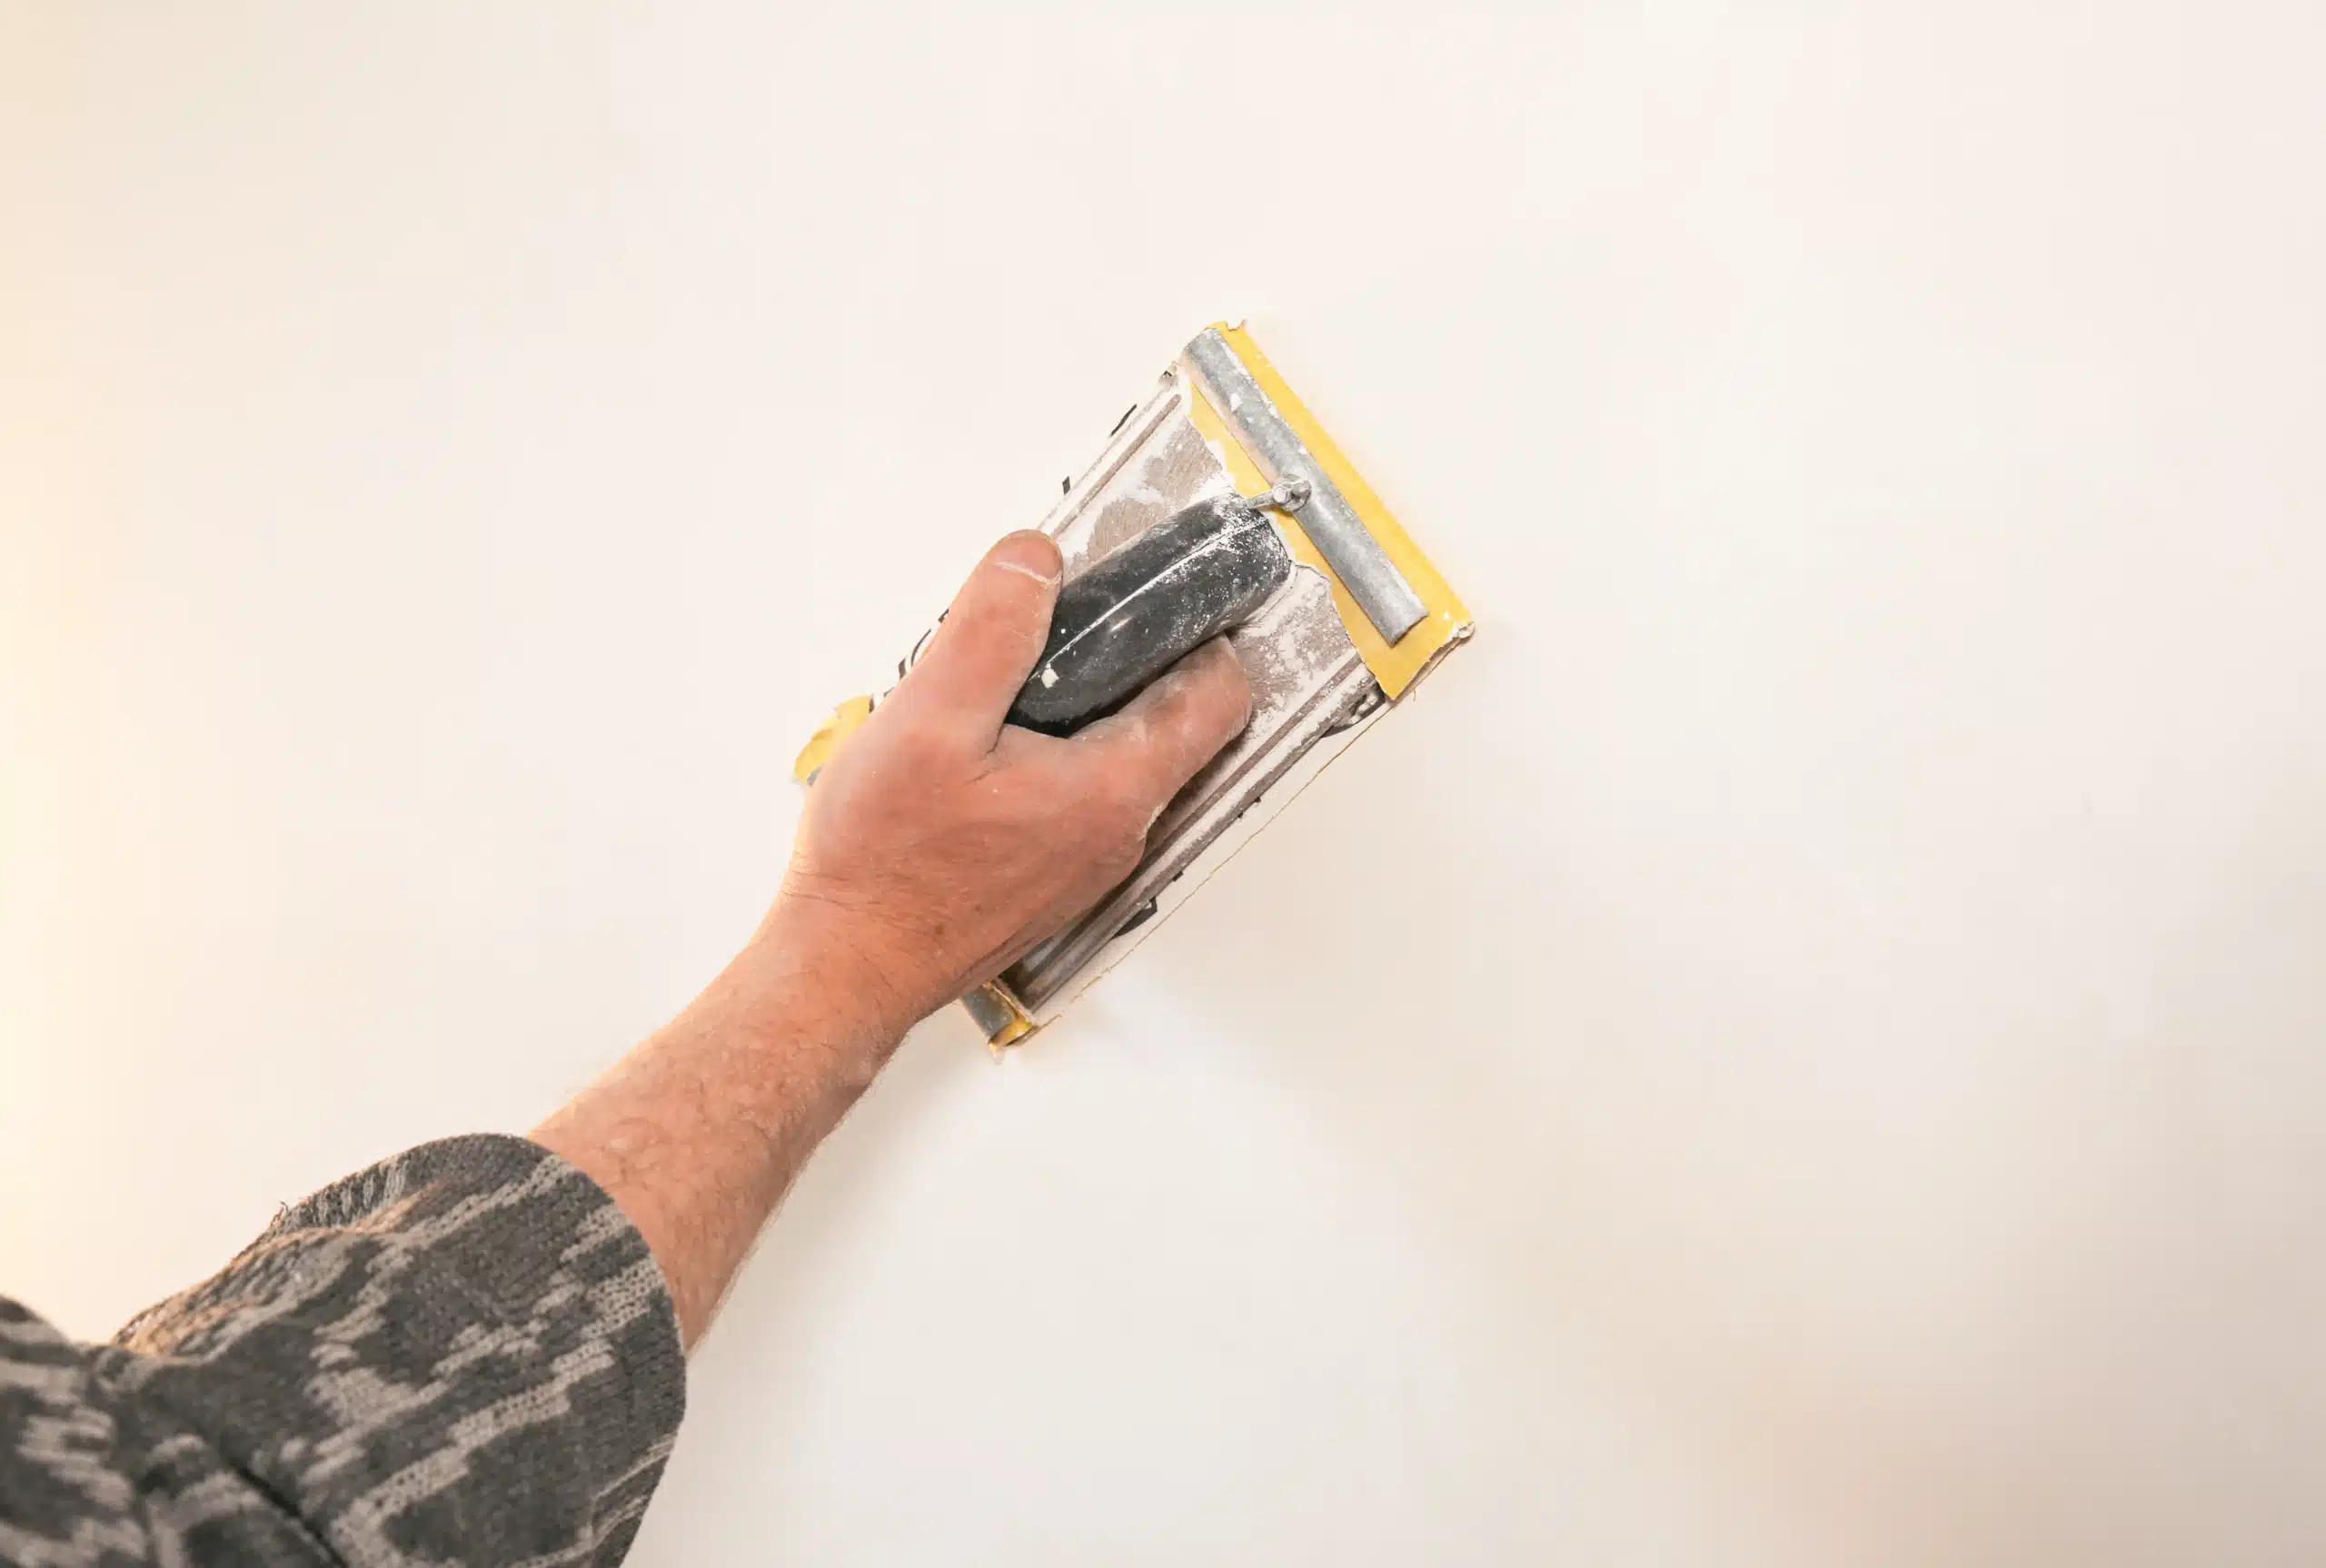
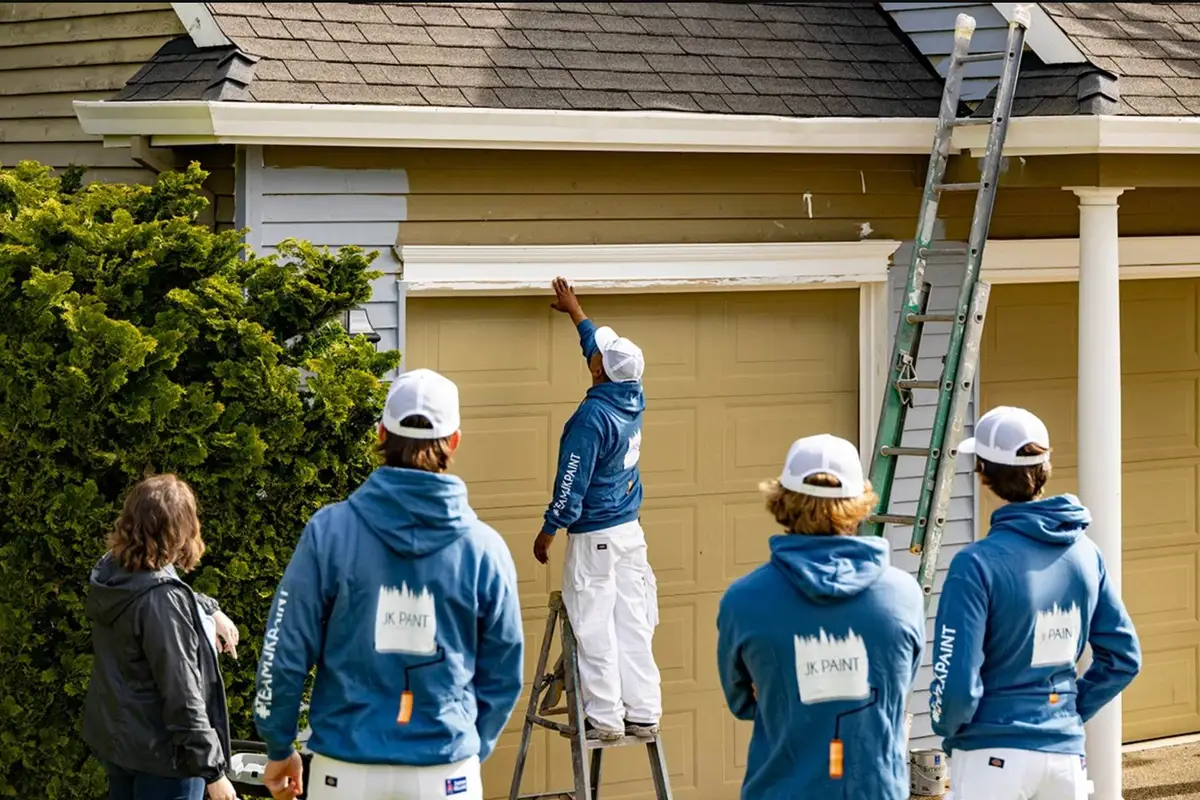
Painting over loose or peeling paint won’t fix the problem. If the old paint is already coming off, the new paint can come off with it. Once any lead paint concerns have been addressed, loose paint should be scraped away before applying a new coat. Rough edges and uneven spots may also need sanding to create a smoother surface. Glossy areas sometimes need sanding so the new paint can stick better.
Not every surface needs the same amount of scraping or sanding. The amount of prep work depends on the condition of the existing paint and the material underneath it. Sherwin-Williams’ exterior paint preparation guide also explains why cleaning, scraping, sanding, and drying are important before exterior painting. The goal is simple: remove anything that could keep the new paint from sticking and leave a smooth, solid surface to work with.
7. Repair Cracks, Holes, and Damaged Areas
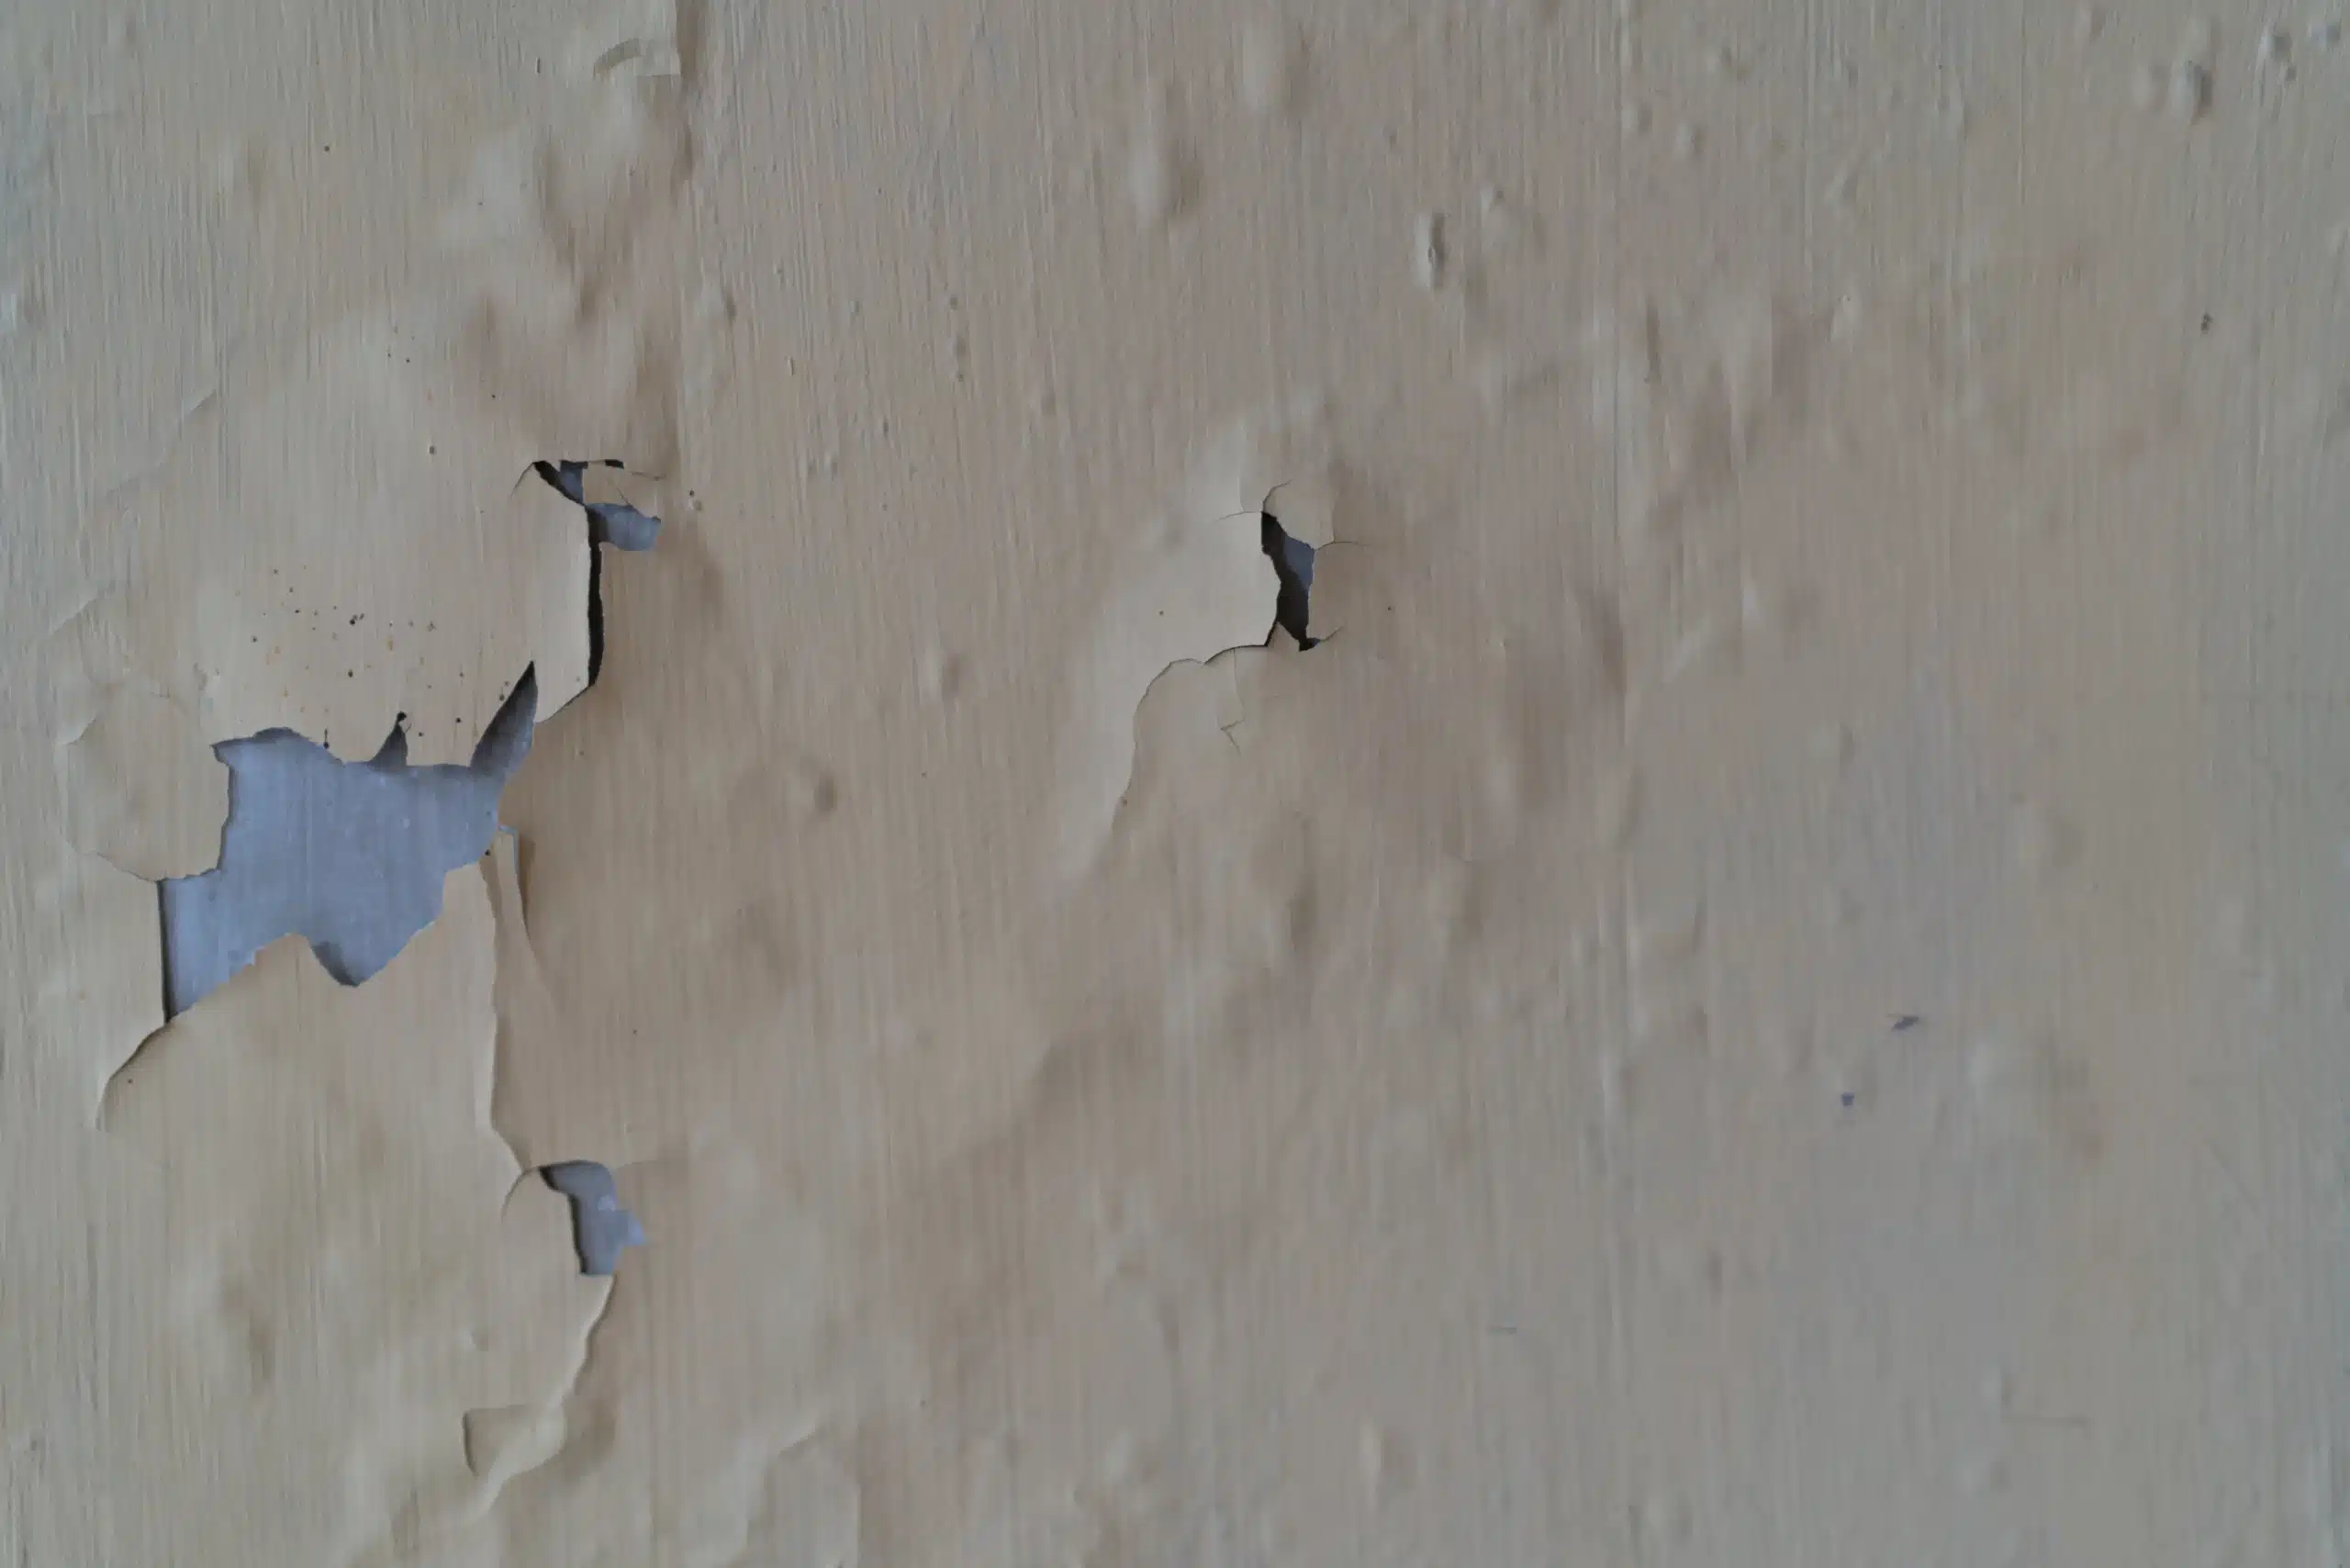
Once the surfaces are clean and loose paint has been removed, it’s time to take care of any repairs. For interior painting, this may include filling nail holes, patching drywall, fixing dents, and smoothing uneven spots. For exterior painting, repairs may include replacing damaged wood, fixing trim, and sealing gaps where needed.
Caulking is also an important part of preparation, especially around certain joints and trim. However, not every gap should be caulked. Some openings are designed to let water drain or allow materials to expand and contract. Using the right materials and knowing which areas need to be sealed helps prevent problems down the road. After repairs are finished, fillers and caulk need enough time to dry before primer or paint is applied. If the repairs involve textured walls, make sure the patched areas match the surrounding surface as closely as possible.
8. Remove Dust and Apply the Right Primer
After sanding and making repairs, there will usually be some dust left behind. Before painting, that dust needs to be cleaned off. Otherwise, the new paint may not stick as well as it should. Once the surface is clean, the next step is priming any areas that need it.
Primer helps paint stick and can prevent stains or uneven colors from showing through the finished paint job. Different surfaces may need different types of primer. For example, bare wood, new drywall, stained areas, and previously painted surfaces may all need different products. Some areas only need a little primer, while others may need a full coat. Even if you’re using a paint-and-primer product, certain surfaces and stains may still need a separate primer. Choosing the right primer is an important part of getting a finish that looks good and lasts. For exterior projects, our Portland exterior painting services include the prep work needed to get surfaces ready for painting.
9. Double-Check Everything Before Painting
Before applying the finish coats, take one last look at the surfaces. Check for any spots that were missed during scraping, sanding, cleaning, or repairs. Look for leftover dust, rough patches, and areas that might still need primer. It’s also a good time to confirm the paint colors and finishes before the work begins.
For exterior painting, the weather matters. Temperature, moisture, and drying conditions can all affect how well the paint sticks and dries. Portland weather can change quickly, so it’s important to make sure the conditions are right for painting and that the paint will have enough time to dry afterward. Once painting is finished, follow the recommended drying and curing times before putting furniture back, reinstalling hardware, or cleaning painted surfaces. A final walkthrough with your painter is also a good way to make sure everything looks the way it should.
What Should Be Included in Your Painting Estimate?
Before hiring a painting contractor, it’s important to understand what’s included in the estimate. A good estimate should explain the preparation work that needs to be done, along with any repairs or special steps needed for your home.
Here’s what to look for:
| Part of the Estimate | Detail to Look for |
|---|---|
| Surface condition | Repairs, moisture concerns, and any exclusions |
| Older coatings | Assessment and lead-safe work where needed |
| Cleaning and preparation | Methods matched to the materials |
| Priming | Product and areas that need it |
| Protection and cleanup | Floors, belongings, access, and debris removal |
Knowing what’s included makes it easier to compare estimates and understand what you’re paying for.
Frequently Asked Questions About Paint Preparation
Sometimes, but it’s important to talk with your painter first. Basic tasks like moving furniture and clearing work areas can help get your home ready. However, scraping, sanding, patching, and priming need to be done correctly. If the prep work isn’t done right, it can lead to more repairs or problems with the finished paint job. Your painter should inspect any preparation work you’ve completed before painting begins.
No. Exterior surfaces need to be clean before painting, but pressure washing isn’t always the best option. Some siding and trim materials can be damaged by high pressure. The right cleaning method depends on the surface and its condition. Whatever method is used, the surface needs to dry before painting begins.
No. Some walls only need a good cleaning, while others may need sanding to smooth out repairs, remove rough spots, or help the new paint stick. It depends on the condition of the wall and the type of paint being used. If your home has older paint that could contain lead, that should be checked before sanding.
It depends on the size of the project and the condition of the surfaces. A home with peeling paint, damaged wood, or a lot of repairs will usually need more prep work than one that’s already in good shape. Your painter should be able to give you a better idea of the time needed after looking at the job.
Get Your Portland Home Ready for a Great Paint Job
As we explained in our original blog, proper preparation is one of the most important parts of any painting project. Taking the time to clean, repair, sand, and prime surfaces helps your new paint look better and last longer. At JK Paint & Contracting, we know how important prep work is, especially with the weather and conditions we deal with here in Portland.
Whether you’re planning an interior refresh or a full exterior repaint, we’re here to help you get the job done right. Ready to get started? Contact JK Paint & Contracting today to request an estimate and talk with our team about your next painting project.