
Table Of Contents
Mistakes To Avoid When Painting Your House
10 Common DIY House Painting Mistakes
- Picking The Wrong Paint
- Choosing The Wrong Color And Finish
- Not Buying Enough Paint
- Using A Non-Suitable Painting Brush
- Skipping The Necessary Prep Work
- Dismissing The Use of Primer
- Brush Dipping
- Messy Paint On The Trim, Floors & Ceiling
- Painting Over The First Coat Too Soon
- Forgetting About Paint Samples And Testers
Should I Hire A Professional Painting Contractor Instead?
➔ Do I Want To Go Through All The Steps Of Painting My Own House?
➔ Can I Skip The Paint Prep Work?
➔ Why Hire A Professional Painter?
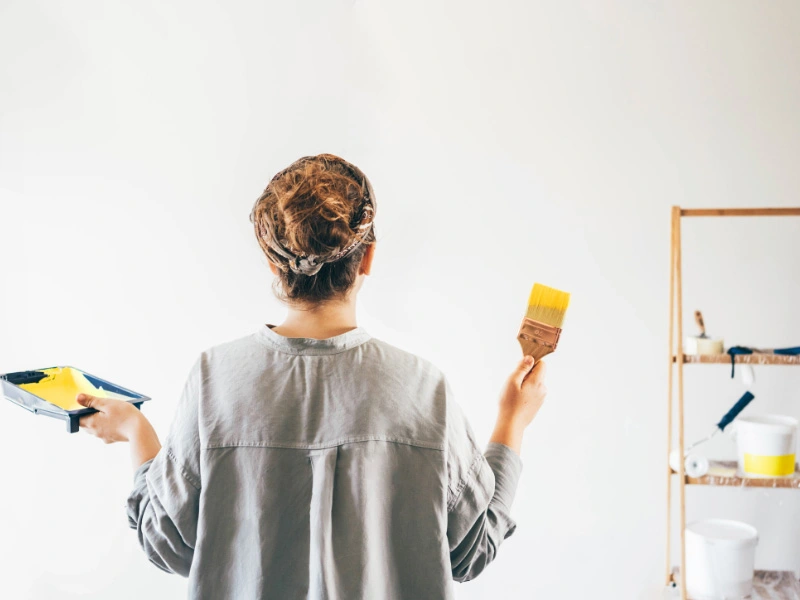
When you’re painting the interior of your home, you’ll want the final result to be flawless— with the best color, an even coating, and a clean trim. If you’re painting without the help of a certified contractor, simple mistakes are bound to happen. By understanding the most common DIY painting mistakes and how to avoid them, you can make your next painting project faster and easier, and achieve better results.
10 Common DIY House Painting Mistakes
1. Picking The Wrong Paint
Whether you’re painting by yourself or hiring a professional, you’ll want to invest in good, high-quality paint. Paint that’s high quality is durable, brushes on well, and requires fewer coats. You’ll want to choose a paint that is best suited to your stylistic preference and wall type.
Pro Tip: Paints from Sherwin Williams and Benjamin Moore are a good option.
Matte paints are good for coverage but aren’t the best choice for high-traffic areas. Semi-gloss paints are durable and moisture-resistant, making them the perfect choice for rooms that experience a lot of moisture— like bathrooms (“What Is The Best Paint Finish For A Bathroom”), for example. Other types of paint and finishes include eggshell, satin, and high gloss.
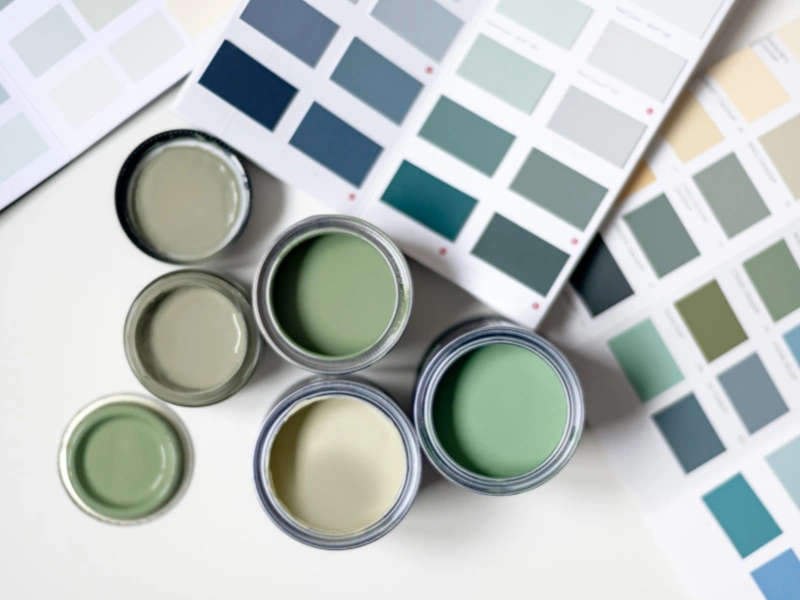
2. Choosing The Wrong Color And Finish
A lot of DIYers struggle with choosing colors. When you’re painting the interior of a home, it’s best to stick to three or fewer colors (Tromler). Using color psychology (“Color Psychology: Choosing Home Color Schemes”) and checking out different color schemes online can help you pick out colors that compliment each other in your home.
When it comes to finishes, flats are one of the most popular. It’s durable and has minimal sheen. Flat and matte are great options for a clean, non-shiny appearance. An eggshell finish would be ideal for a place that needs easy wiping (“What Type of Paint Should I Use in My Bathroom?”), such as a hallway.
3. Not Buying Enough Paint
With paint, it’s better to overestimate than underestimate. Running out of paint can be a hassle. You have to stop what you’re doing, rush to the store, and then rush back before your paint dries. If you bought paint that was custom mixed, you might have to wait for the same color to be mixed again and hope that it’s close enough to your original shade.
When changing the color of your walls, remember that you’ll need two coats. If you’re not sure how much paint to buy, toss an extra can into the mix. In a worst-case scenario, you can use it to paint a different room, or save it for when your walls need a touch-up. Either way, it’s always better to have more than less.
Pro Tip: If you’d prefer to buy less paint than more, opt for a higher quality paint. Cheap paints will result in an uneven distribution, and run out faster, which will cause you to buy more (“Are Expensive House Paints Worth the Cost?”). Quality paints will allow you to paint over more surface area so you won’t have to buy as much.
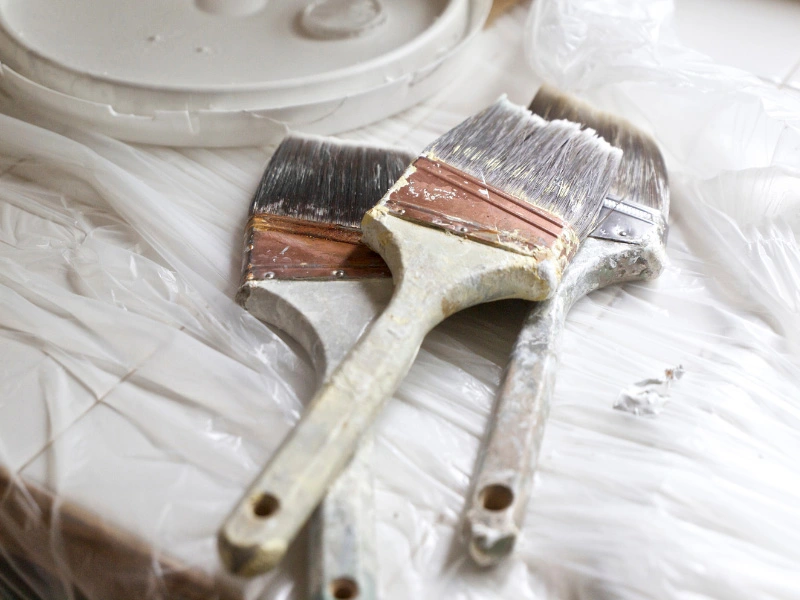
4. Using A Non-Suitable Painting Brush
You want to get the right brush for your project, not the cheapest. By using a good brush, you’ll make your painting job a lot easier and it’ll go by faster. If you’re using paint that can be cleaned up with water, stick to brushes with synthetic bristles. For oil-based paint, a natural bristle brush (DeKorne) might be better.
When it comes to edges and corners, look for a brush that’s good at cutting in, preferably with an angled tip. What about size? For DIYers, it depends on the area. Experts generally recommend a brush that’s 2 to 2 ½ inches wide for corners or 3 to 4 inches wide (“How to Match the Paintbrush to the Project • Wooster Brush”) for walls.
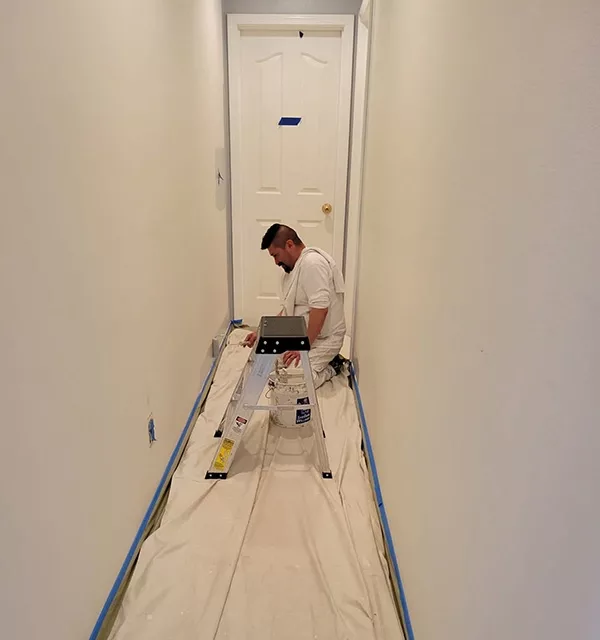
5. Skipping The Necessary Prep Work
One of the most common DIY painting mistakes is not prepping the area and surface being painted. Sometimes, people don’t realize that prep work is a necessity. Others lack the materials and knowledge to do it correctly, and some people think it’s too much of a hassle. However, prepping your walls for painting can make a huge difference in the result.
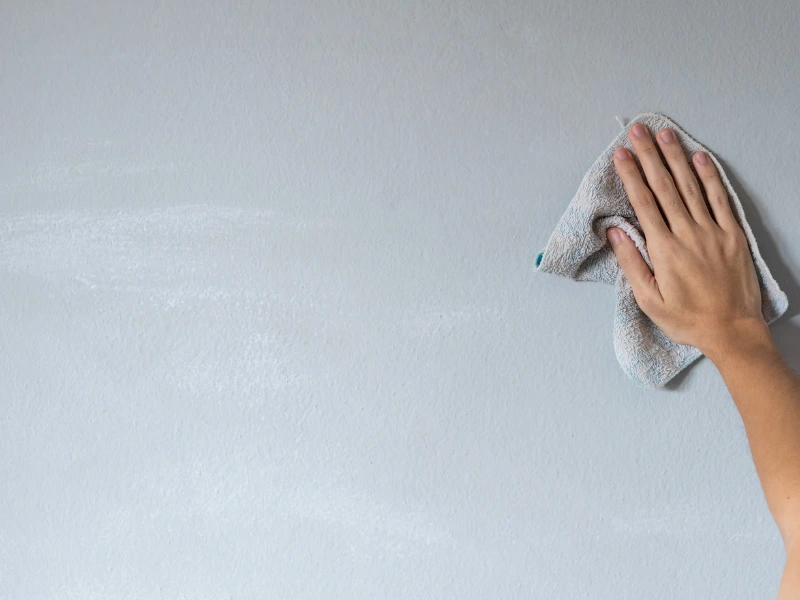
You never want to paint a dirty wall. If the wall is covered with dust, dirt, or other grime, the paint won’t properly adhere. Before you start painting, dust the walls, scrape off any cracked or flaking paint with a paint scraper, and wash everything down with a clean cloth using soap and warm water (“How to Prep Walls for Painting Video”).
Look for any cracks, gaps, or other imperfections in your wall. If they exist, smooth them out with a compound and feather them out. If you have gaps around any of your molding or stair risers, apply caulk before you paint. These steps will ensure a smoother painting process and a long lasting result.
6. Dismissing The Use Of Primer
If you’re painting on top of a dark, bright, or saturated color, you’ll need to use a primer. What if you’re painting on top of wood paneling, wood trim, glossy walls, or new drywall? These situations also require a primer. Primer will smoothly seal the surface (Kazimierski) which helps paint adhere to it. Using primer will make your color look better and more vibrant, extend your coverage, and make the paint more durable.
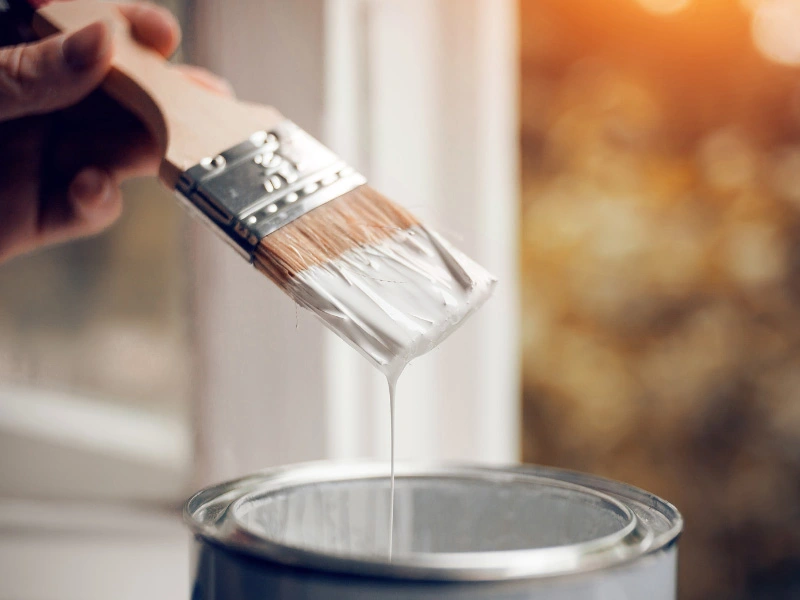
7. Brush Dipping
It might seem reasonable to dip and saturate the entire brush in paint, but the more paint there is on the brush, the more paint will be wasted and left unevenly in drips on the wall. Fully dipping a paintbrush in paint will lead to dripping and it’ll be the cause of an unnecessary mess. Instead, only dip the brush to cover 1/3 of the bristles.
Make sure to tap off any excess paint clinging to the side of the brush so it doesn’t dry there. Some people assume putting a thicker coat on the brush will eliminate the need for a second coat, but this isn’t the case. Using too much paint at once will make your walls dry improperly and cause an unfinished look.
Pro Tip: It’s always better to apply a second coat of paint. The second coat ensures durability, evenness, and reduces fading and chipping (“How Long Should You Wait Between Coats of Paint?”) later on.
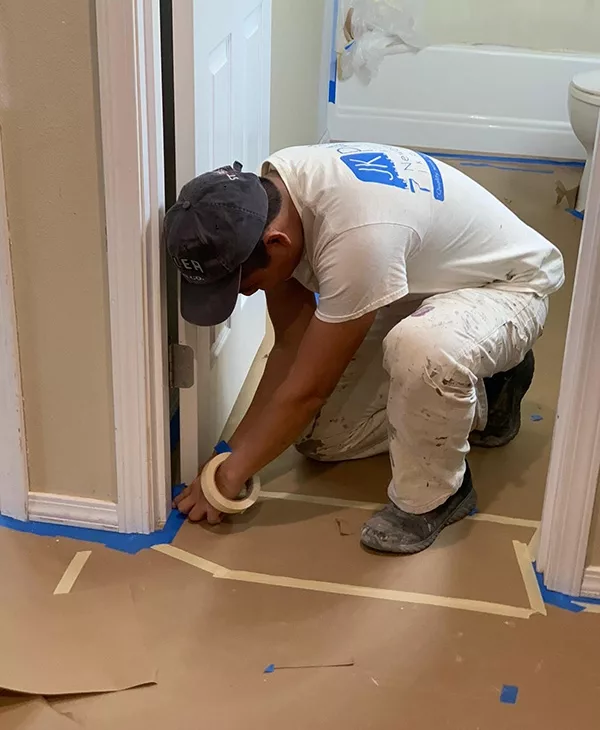
8. Messy Paint On The Trim, Floors & Ceiling
Use painter’s tape to avoid sloppy lines around the trim, floors, and ceiling. This special tape separates different sections of the room so you don’t accidentally paint something you weren’t intending to.
When you’re using painter’s tape, keep these important tips in mind:
- If painting your ceiling a color that’s lighter than the original color on the walls, paint your ceiling first. This way, it’s easier to paint over any mistakes.
- If you have hardwood floors, avoid adding tape to them. This can strip the boards of their finish. You’ll want to be careful with laminate flooring as well.
Pro Tip: Read how to use scotch painter’s tape HERE (“How to Tape for Painting”).
9. Painting Over The First Coat Too Soon
Waiting for paint to dry isn’t exactly exciting, but it’s a necessary part of the painting process. To be safe, let your first coat dry for about 24 hours before applying a second coat. Doing this will leave a smooth and even finish. If you apply a second coat too soon, your brush strokes will be prominent, and your paint job won’t look good.
Pro Tip: Be sure to remove painter’s tape before the walls dry (“How to Remove Painter’s Tape”). If you wait too long to remove it, you might pull up some of the newly dried paint with it. If your wall is still wet, remove the painter’s tape at an angle. If it’s already dry, you can use a straight edge and a razor blade to score the paint and tape and then remove the painter’s tape.
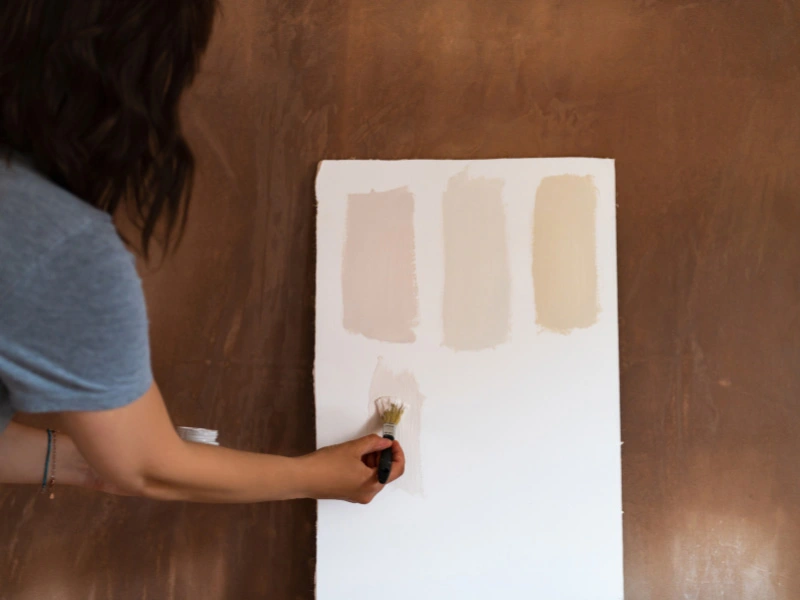
10. Forgetting About Paint Samples And Testers
The way a color looks can vary depending on the lighting, type of wall, and time of day. What does that mean? Due to different types of lighting and wall textures, colors in the store won’t look the same in your home (Davis). By using paint samples and testers, you can test out multiple colors before making a final commitment.
Should I Hire A Professional Painting Contractor Instead?
Deciding between doing a paint job on your own or hiring a professional painter, depends on the quality you’d like for the end result. It also depends on the bulk of work needing to be done.
If you’re simply wanting to change the color of your bedroom, maybe DIY will work better. However, if you’re wanting to paint larger portions of your home, like multiple rooms, kitchen cabinets, or the entirety of the interior and exterior of your house– hiring a painting company will help the job get done quicker while ensuring a satisfactory final result.
When weighing the options ask yourself the following questions:
Do I Want To Go Through All The Steps Of Painting My Own House?
The thought of painting a house by yourself might seem simple enough, but considering the steps and supplies needed might change your mind. Besides paint, supplies also include brushes, rollers, painters tape, drop cloths, paint samples (Wallender), primer and more. Depending on the size of the surface area you want to cover, a do it yourself project intended to save money may cost more in the end.
Pro Tip: Ceilings, foyer and tall walls can provide painting challenges and may also require scaffolding or ladders.
Can I Skip The Paint Prep Work?
Skipping the prep work saves time in the short term but a quality paint job requires proper preparation. Paint needs to be able to stick to the surface, and won’t adhere properly when put over a dirty surface (“Painting Prep: Best Way to Wash Walls Before Painting”). In addition, all holes, cracks or other imperfections need to be patched prior to paint application if you want a good end result. Prep work is beneficial for your paint’s longevity.
Why Hire A Professional Painter?
Experienced, professional painters not only have all the necessary tools needed for the job, but they also know how to paint different surfaces and understand how best to prep them. Being knowledgeable on which paint is better for certain areas – eggshell, flat, semi-gloss or gloss – is only one of their specialties.
Unless you have prior painting experience you should consider how much time it will take you to complete your project and if it is better to hire a contractor. What takes a professional painter a couple hours to do will take a DIY house painter twice as long (Shuffett).
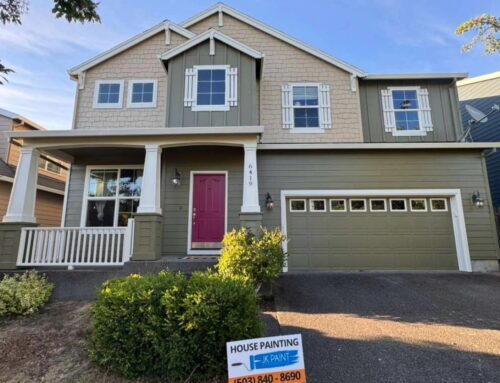
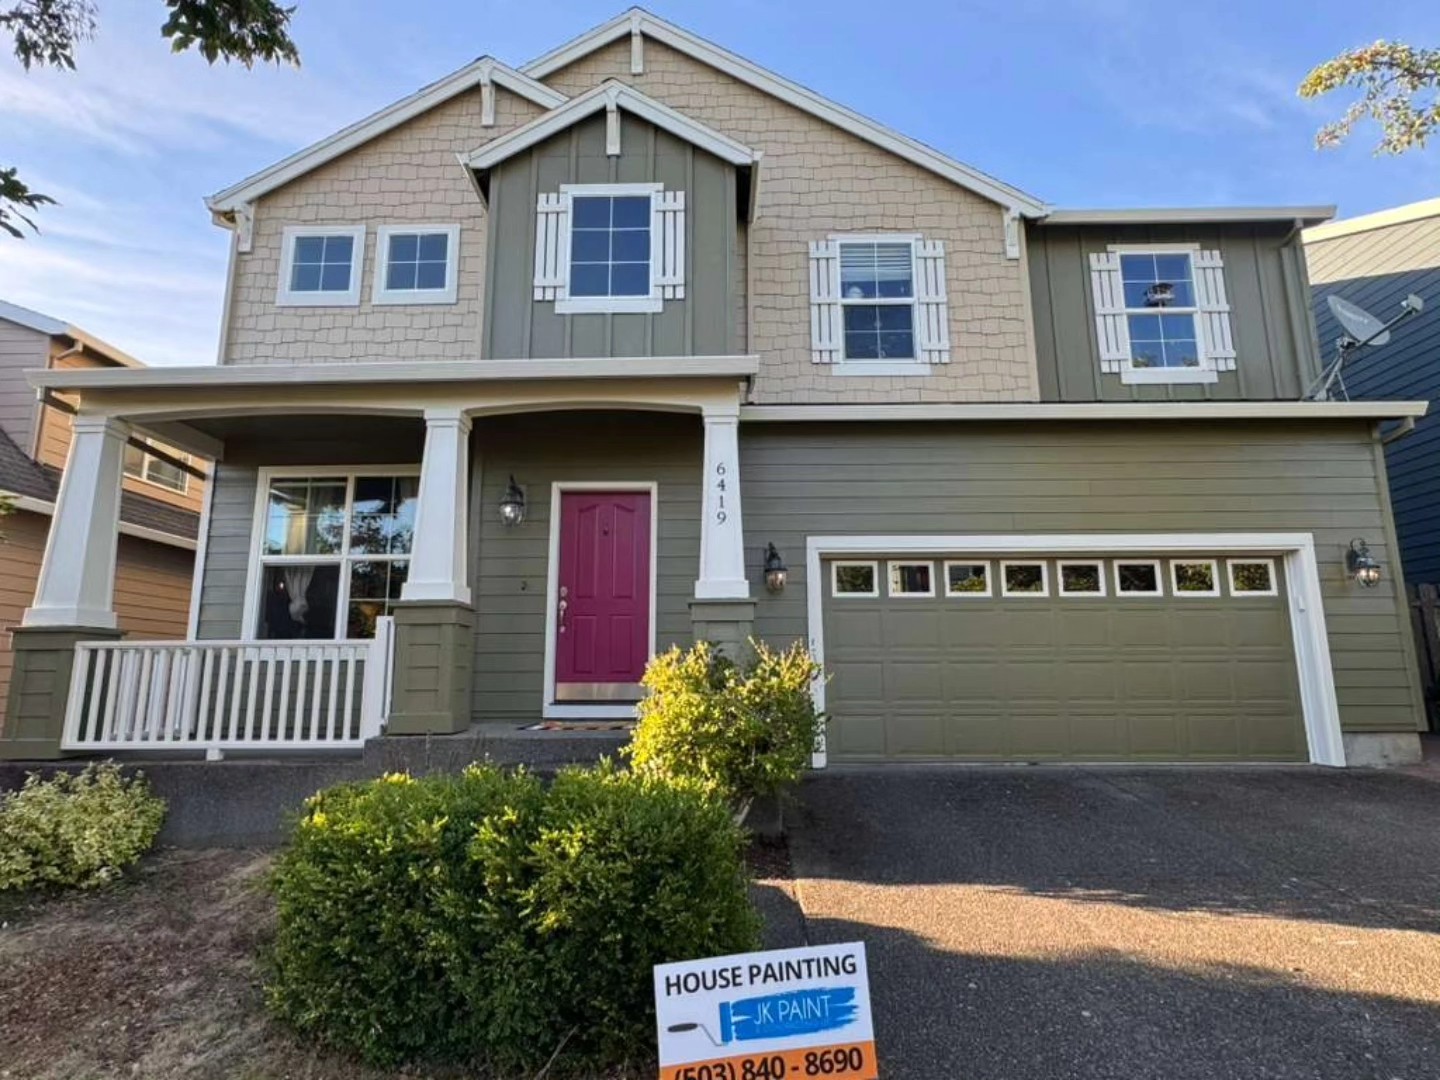
Professional Painters In The Portland Metro Area
Don’t want to risk a DIY gone wrong? If you’re looking for an interior or exterior painting contractor around Portland, Oregon, JK Paint & Contracting can help. Whether you’re planning a big project, small project, or something in between, contact us to discuss the details.
